Docker Concepts
Docker commands
Basics
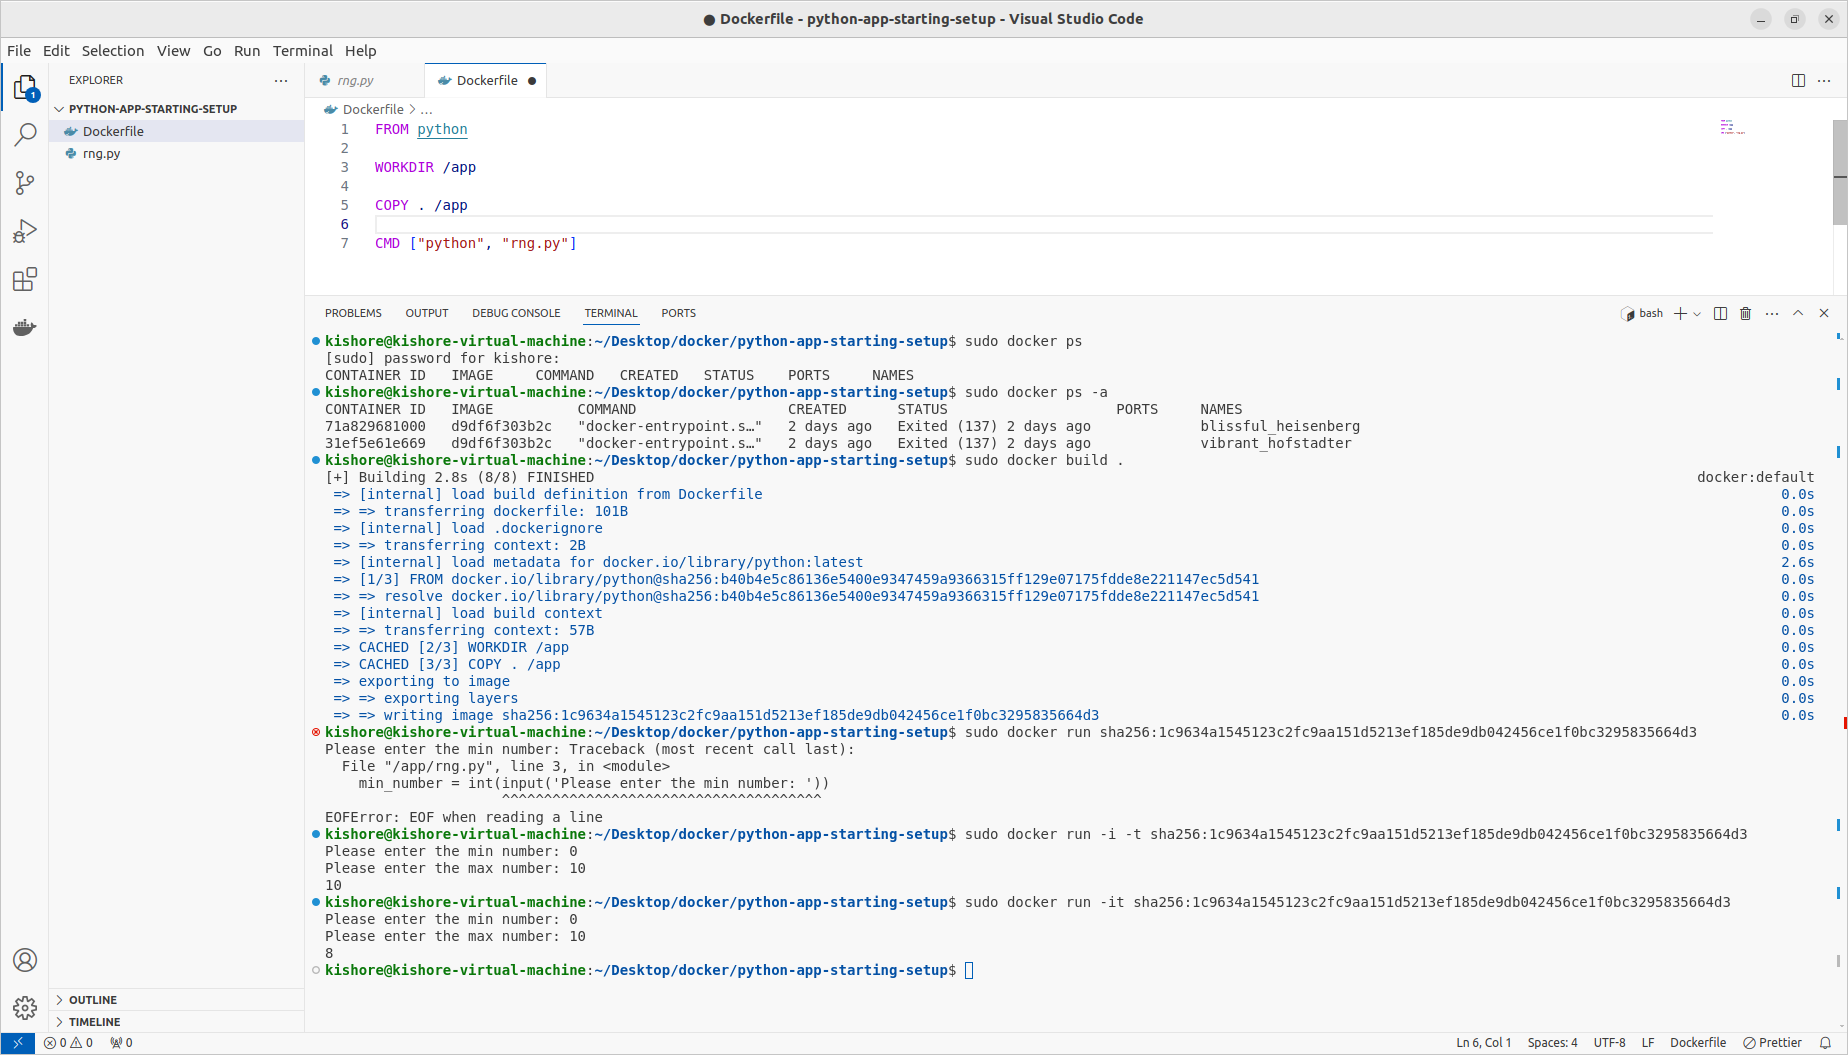
Entering Interactive Mode
Deleting Images & Containers
Removing Stopped Containers Automatically
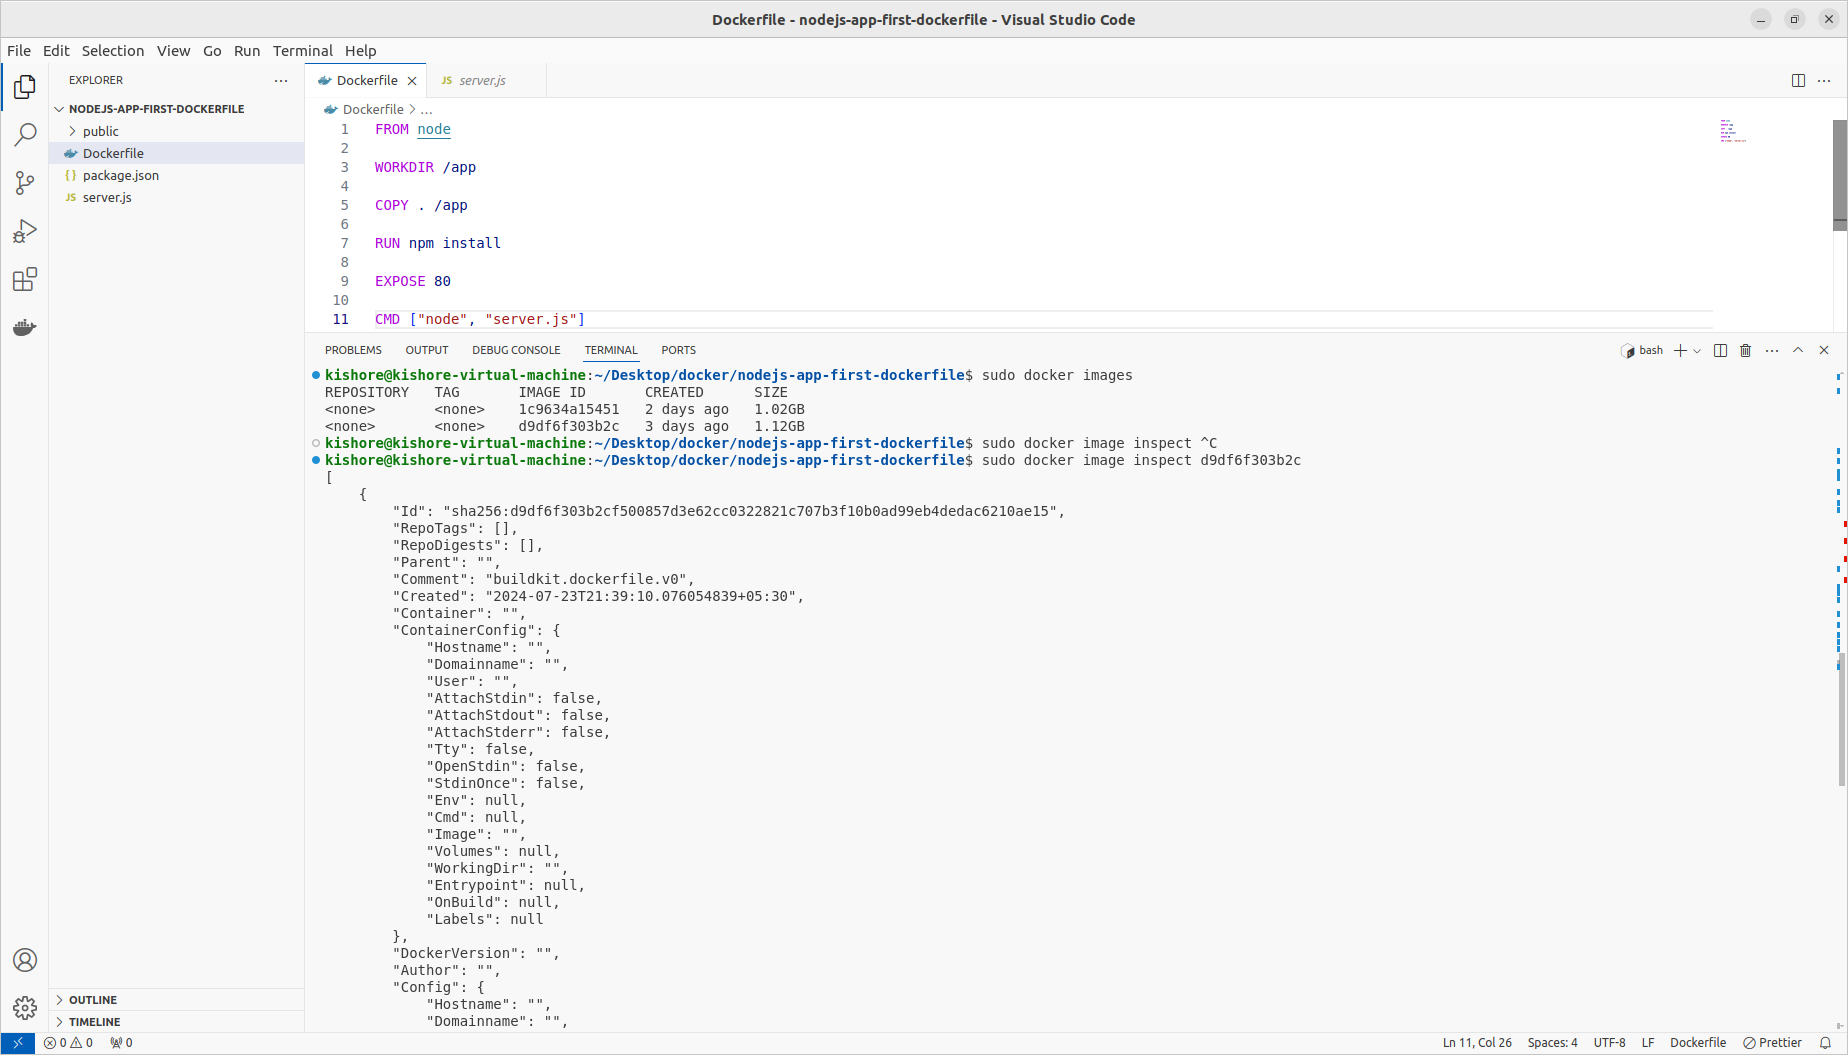
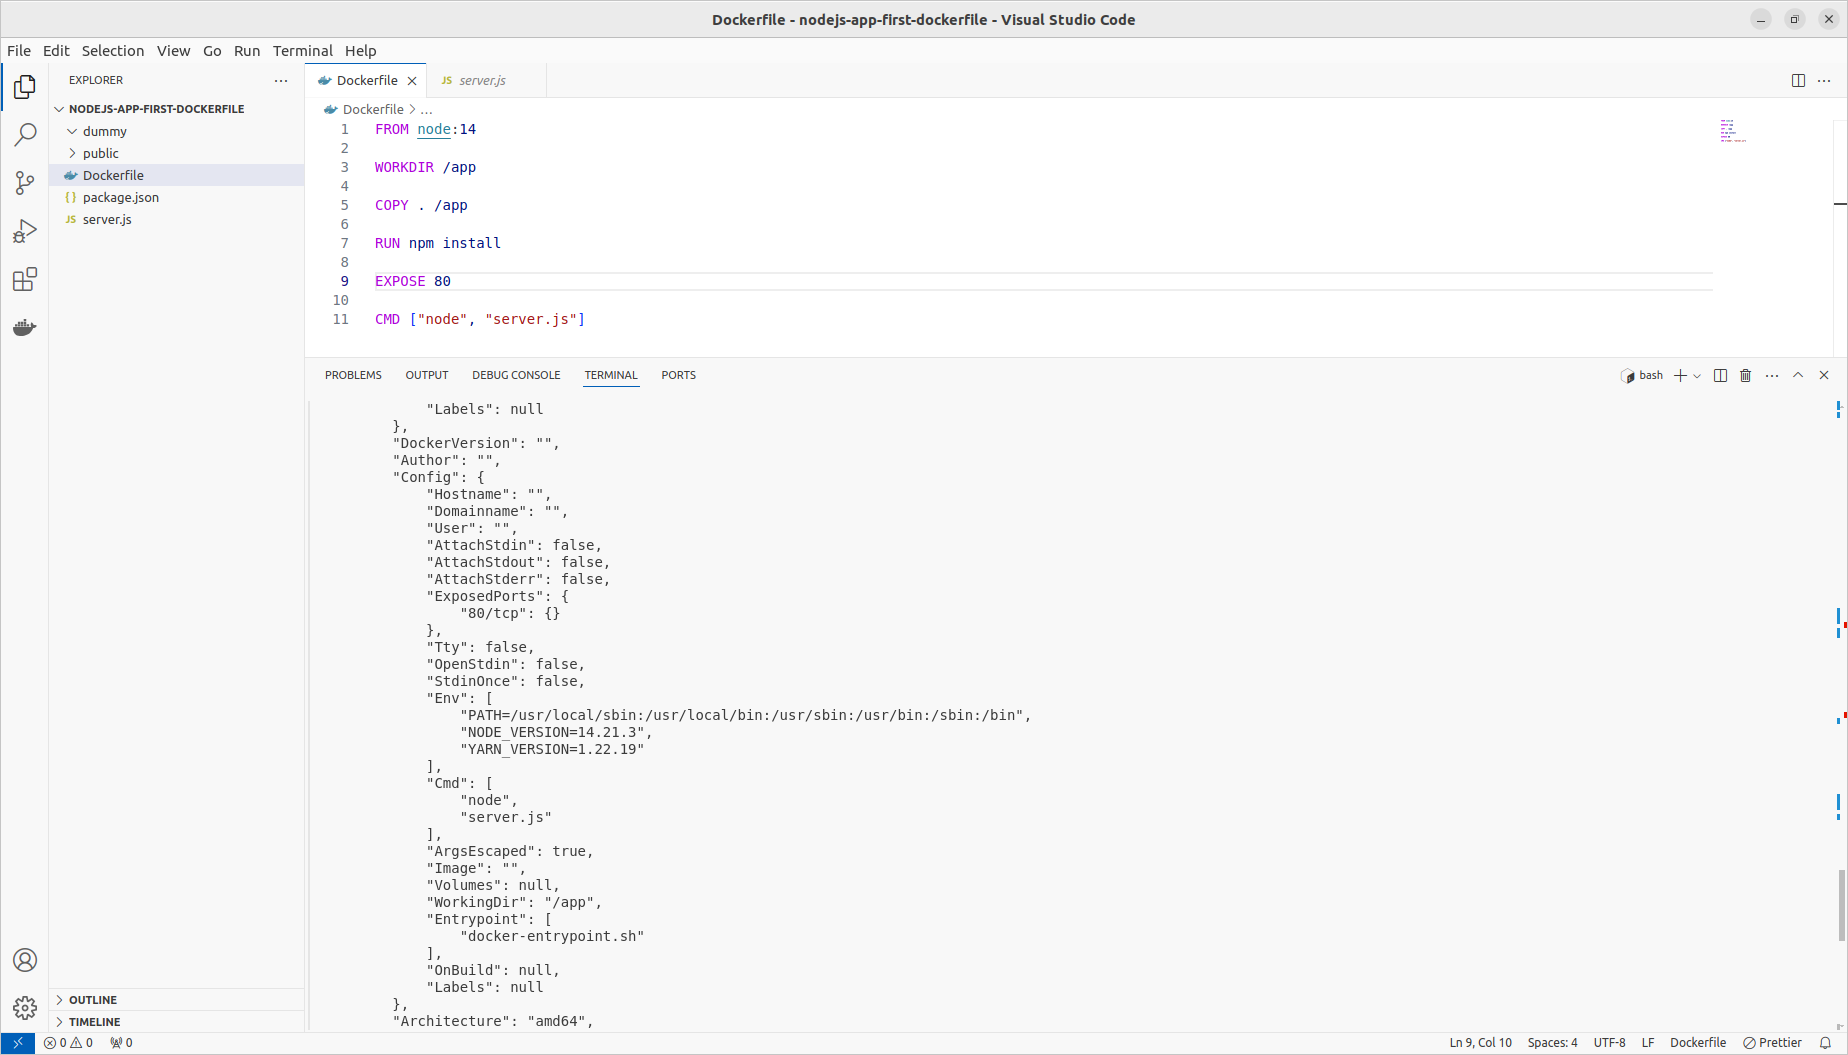
Inspecting Images
Copy Files Into & From A Container
Naming & Tagging Containers & Images
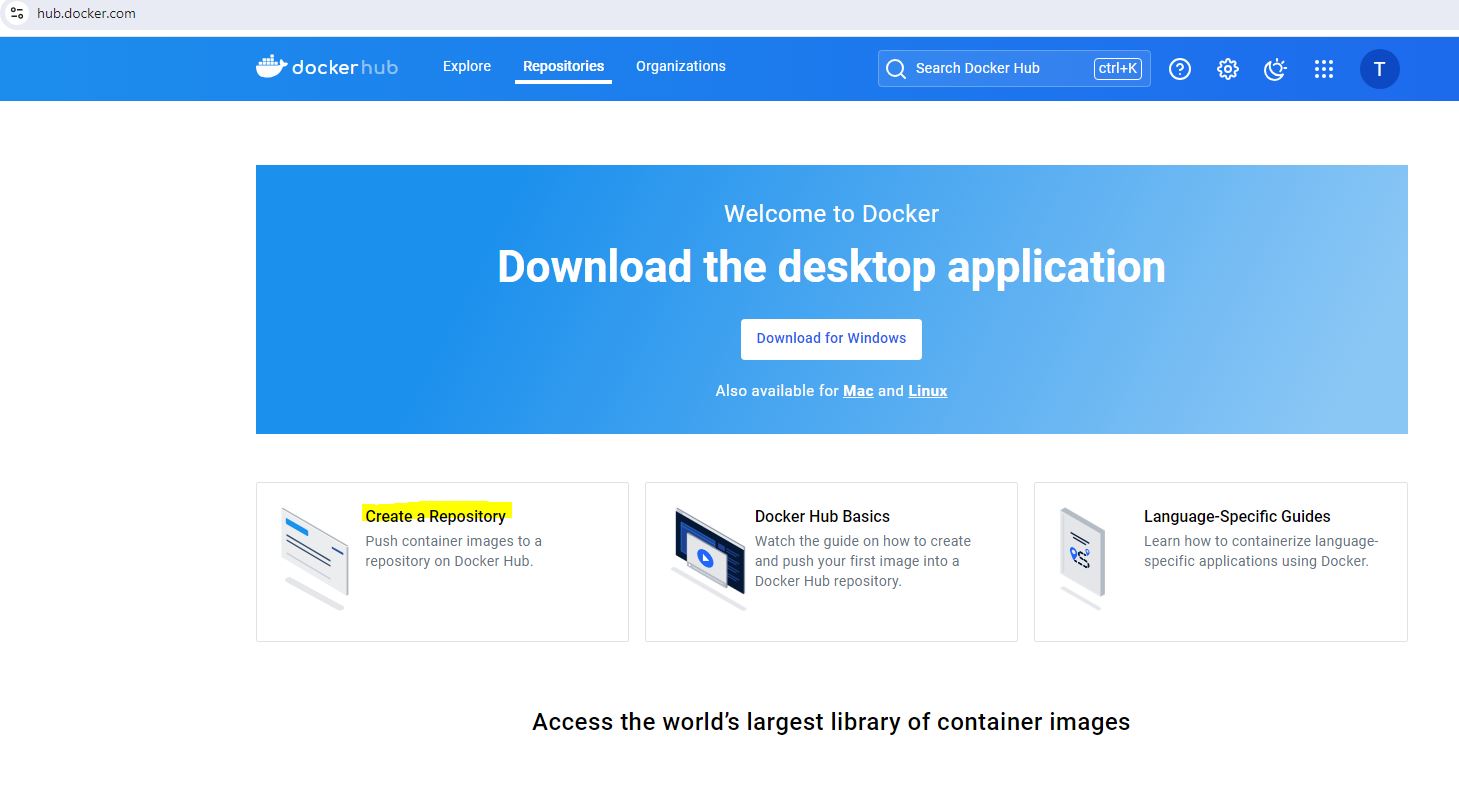
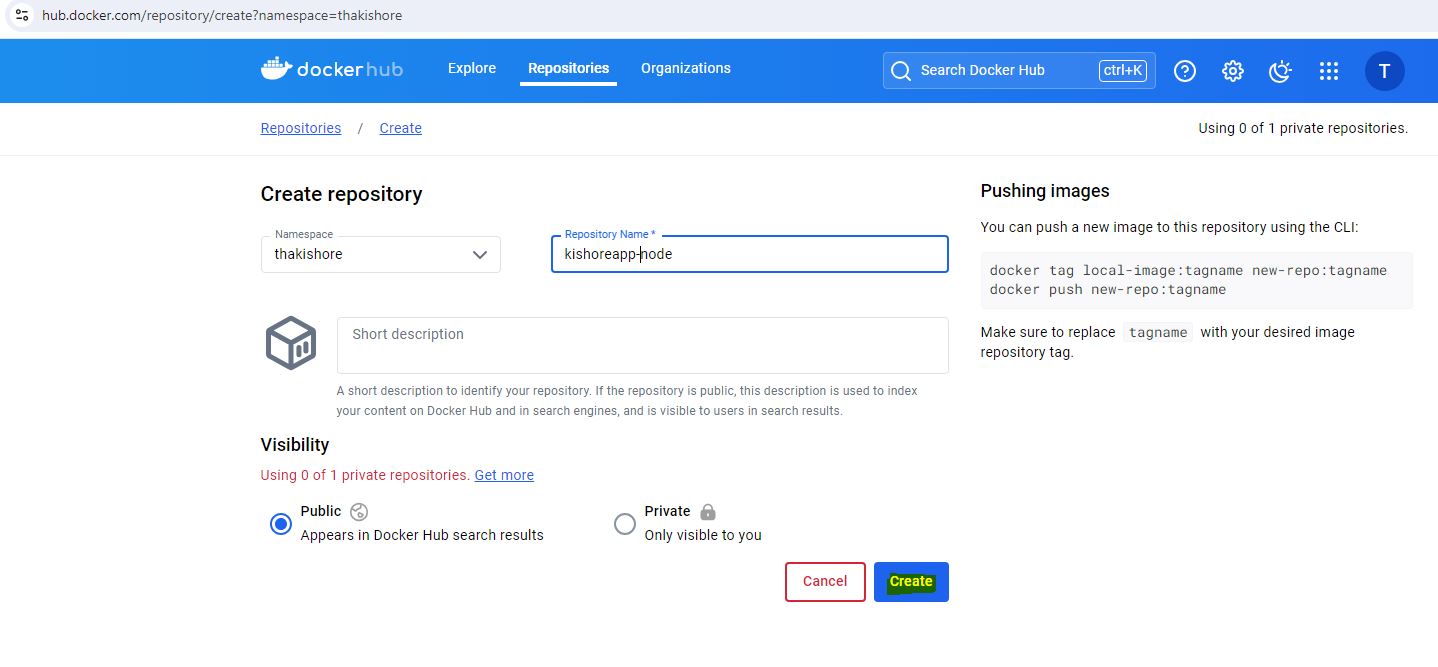
Docker Hub Configuration with Image Push & Pull
Docker Hub Image Tag
Volumes
Anonymous Volumes
Named Volumes
Bind Mounts
Read only Volumes
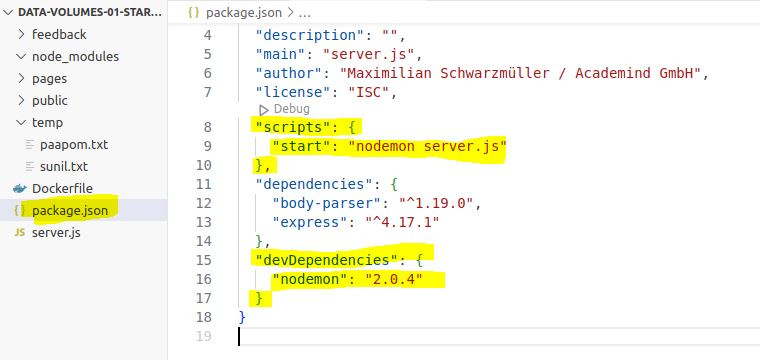
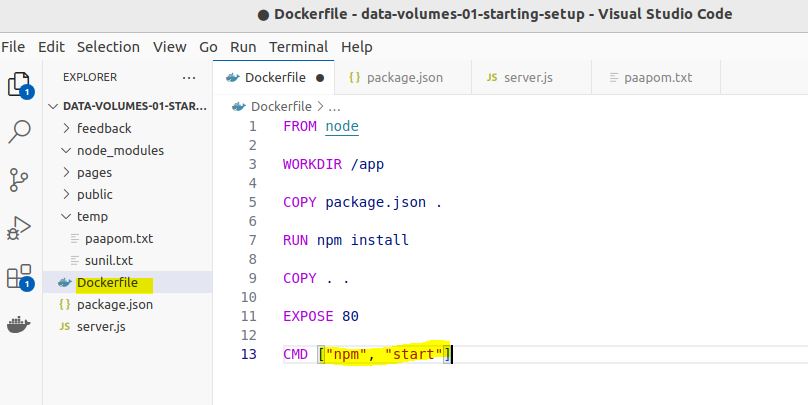
Nodemon
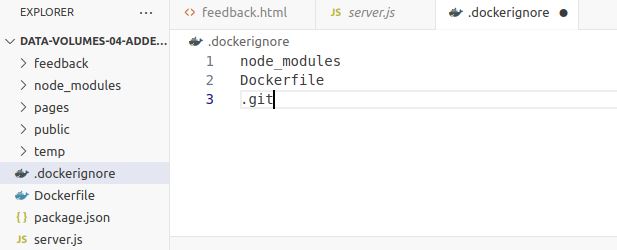
.dockerignore
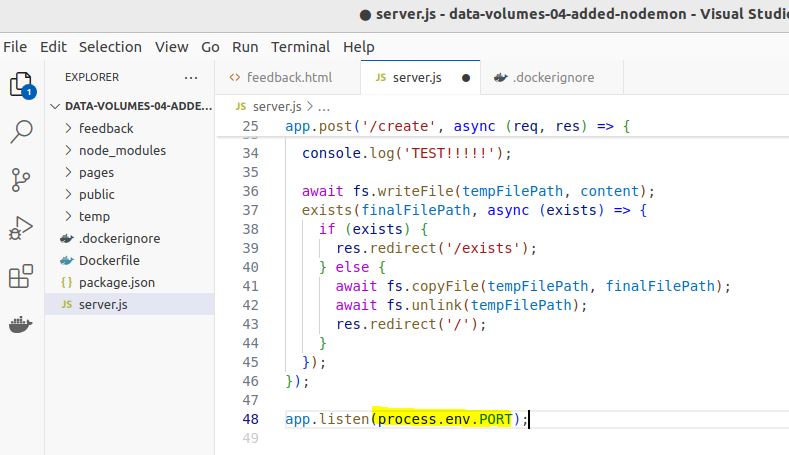
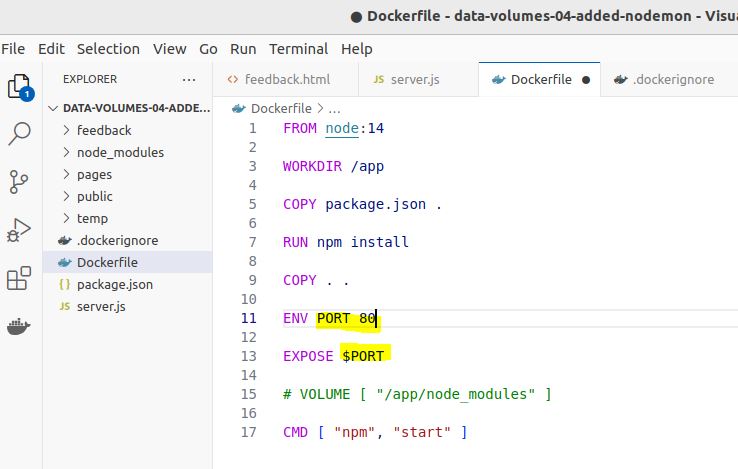
Environment Variables & ".env" Files
Build Arguments(ARG)
Networks
multi-container
Installing Docker Compose on Linux
Utility Containers, Permissions & Linux
Docker commands
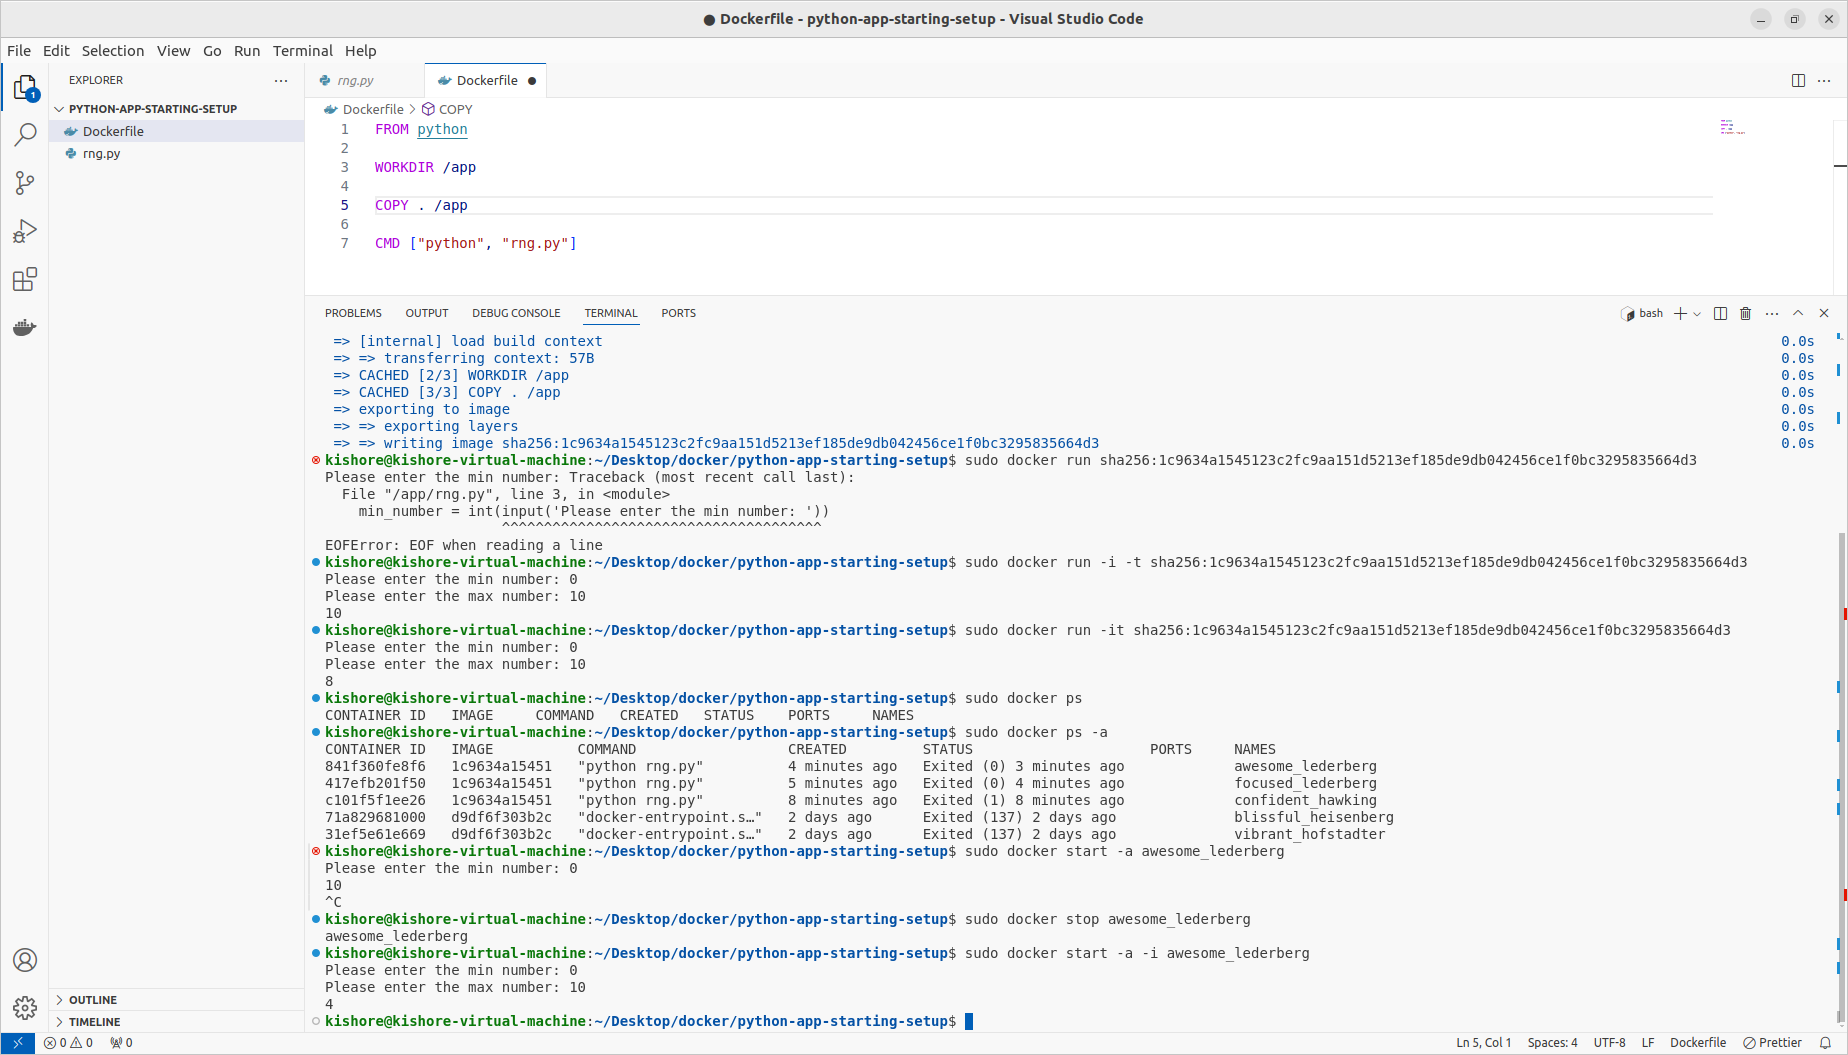
sudo docker build . sudo docker run -p 3000:3000 sha256:2447845036998e1bcc1e2682ff10fb2e7f86bc3f38e90f73fee2805ff499fe3f sudo docker ps sudo docker ps -a sudo docker stop affectionate_satoshi sudo docker start affectionate_satoshi sudo docker start -a affectionate_satoshi # Attached Mode sudo docker run -p 3000:3000 -d sha256:2447845036998e1bcc1e2682ff10fb2e7f86bc3f38e90f73fee2805ff499fe3f # Detached Mode sudo docker run -p 3000:3000 sha256:2447845036998e1bcc1e2682ff10fb2e7f86bc3f38e90f73fee2805ff499fe3f # Attached Mode sudo docker attach affectionate_satoshi # Attached Mode sudo docker logs affectionate_satoshi sudo docker logs -–help sudo docker logs -f affectionate_satoshi sudo docker run –help sudo docker start -a -i awesome_lederberg sudo docker rm blissful_heisenberg vibrant_hofstadter sudo docker container prune sudo docker images sudo docker rmi 1c9634a15451 d9df6f303b2c sudo docker image prune sudo docker image inspect d9df6f303b2c sudo docker run -i -t sha256:2447845036998e1bcc1e2682ff10fb2e7f86bc3f38e90f73fee2805ff499fe3f sudo docker run -it sha256:2447845036998e1bcc1e2682ff10fb2e7f86bc3f38e90f73fee2805ff499fe3f sudo docker run -p 80:80 -d –rm sha256:2447845036998e1bcc1e2682ff10fb2e7f86bc3f38e90f73fee2805ff499fe3f sudo docker cp dummy/. affectionate_satoshi:/test sudo docker cp affectionate_satoshi:/test dummy sudo docker run -p 80:80 -d --rm --name kishoreapp d9df6f303b2c sudo docker build -t kishoreimage:latest . sudo docker image inspect kishoreimage sudo docker image prune -a # -a Remove Including Tagged images sudo docker run -p 80:80 -d --rm --name kishoreapp kishoreimage:14 sudo docker build -t thakishore/kishoreapp-node . sudo docker login sudo docker push thakishore/kishoreapp-node sudo docker logout sudo docker pull thakishore/kishoreapp-node sudo docker tag node thakishore/kishoreapp-node sudo docker run -p 80:80 -d --rm --name kishoreapp -v feedback:/app/feedback kishoreimage:14 sudo docker volume rm feedback sudo docker volume prune sudo docker run -p 80:80 -d --rm --name kishoreapp -v feedback:/app/feedback -v "/home/kishore/Desktop/docker/data-volumes-01-starting-setup:/app" -v /app/node_modules kishore-temp-image sudo docker run -p 80:80 -d --name kishoreapp -v feedback:/app/feedback -v /app/node_modules -v "/home/kishore/Downloads/data-volumes-04-added-nodemon/data-volumes-04-added-nodemon:/app:ro " kishoreapp-image sudo docker run -p 80:80 --env PORT=80 -d --name kishoreapp kishoreapp-image sudo docker run -p 80:80 -env PORT=80 -d --name kishoreapp kishoreapp-image sudo docker run -p 80:80 -env PORT=80 -env Name=kishore -d --name kishoreapp kishoreapp-image sudo docker run -p 3000:8000 --env-file ./.env -d --rm --name kishoreapp kishoreapp-image sudo docker build -t kishoreapp-image:web . sudo docker build -t kishoreapp-image:dev --build-arg PORT=8000 . sudo docker network create kishore-net sudo docker network ls sudo docker -d --name mongodb --network kishore-net mongo docker exec -it kishoreapp npm init sudo docker build -t node-util . sudo docker run -it --name kishoreapp -v /home/kishore/Desktop/docker/UtilityContainer:/app node-util install express --save
Basics
Entering Interactive Mode
sudo docker run -i -t sha256:2447845036998e1bcc1e2682ff10fb2e7f86bc3f38e90f73fee2805ff499fe3f
sudo docker run -it sha256:2447845036998e1bcc1e2682ff10fb2e7f86bc3f38e90f73fee2805ff499fe3f
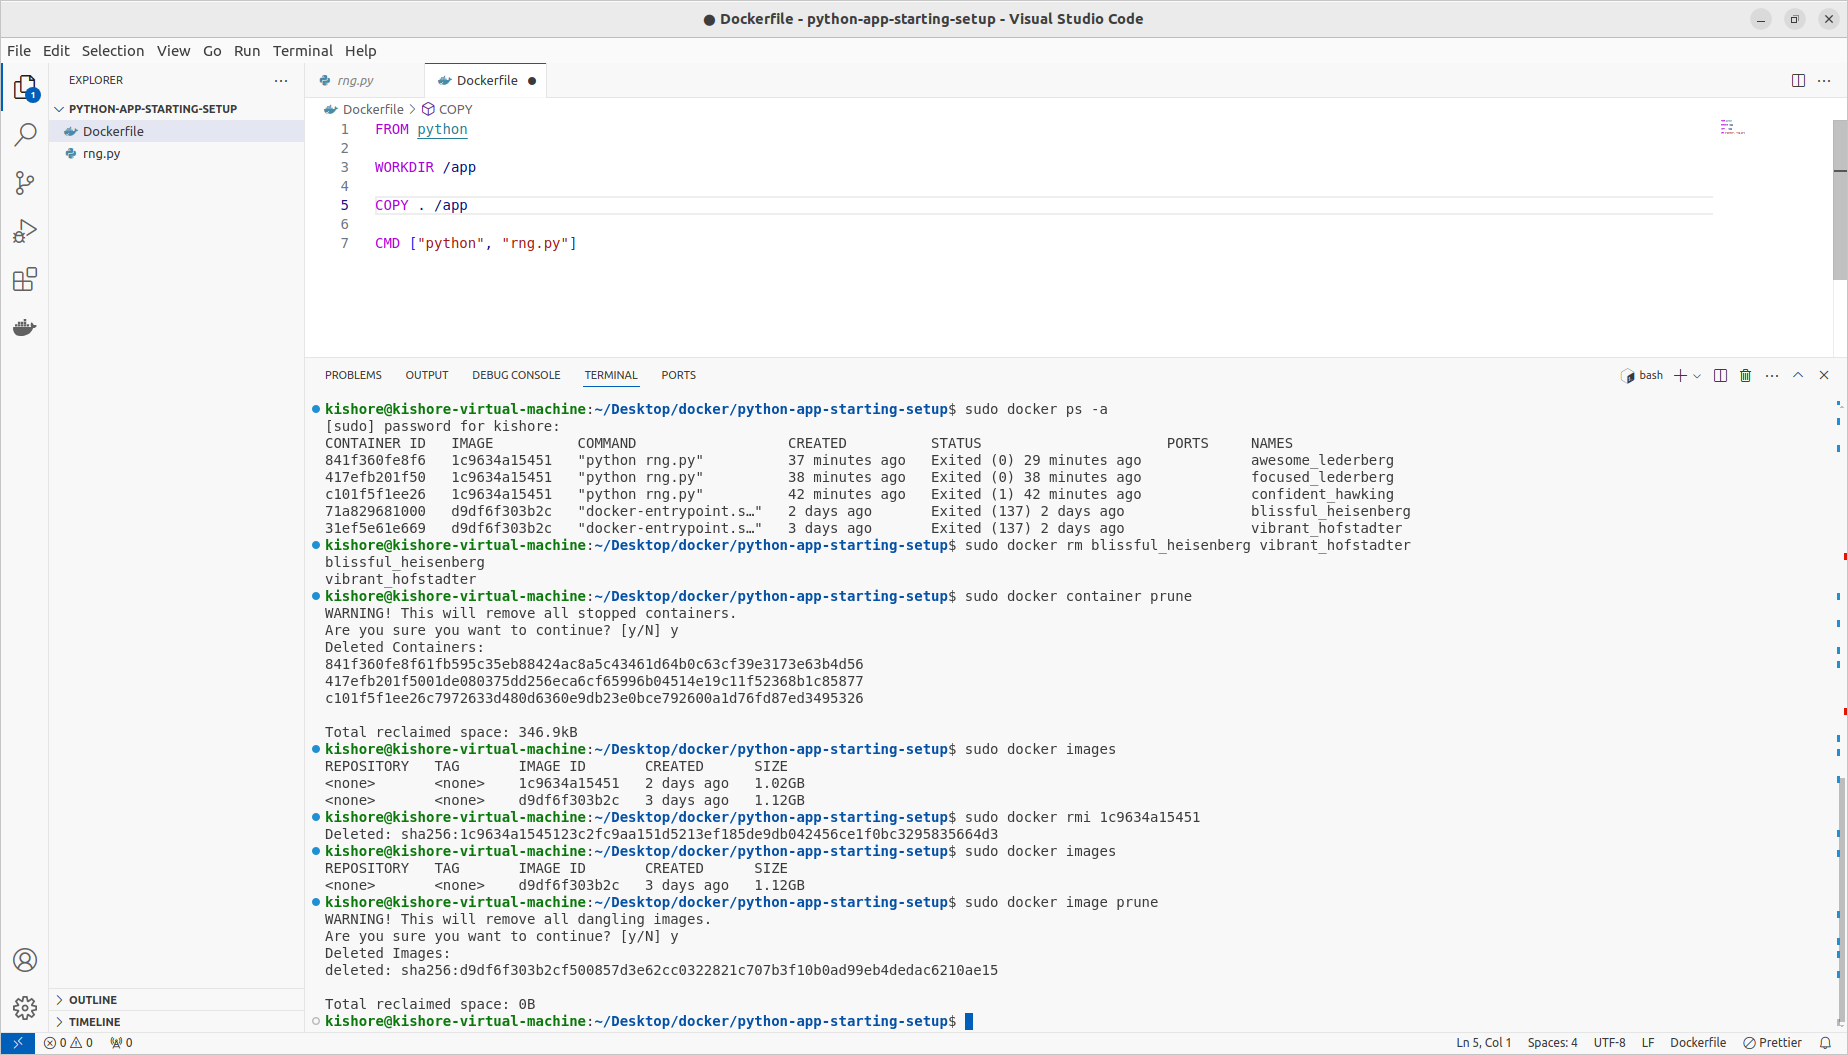
Deleting Images & Containers
-sudo docker rm blissful_heisenberg vibrant_hofstadter sudo docker container prune sudo docker images sudo docker rmi 1c9634a15451 d9df6f303b2c sudo docker image prune
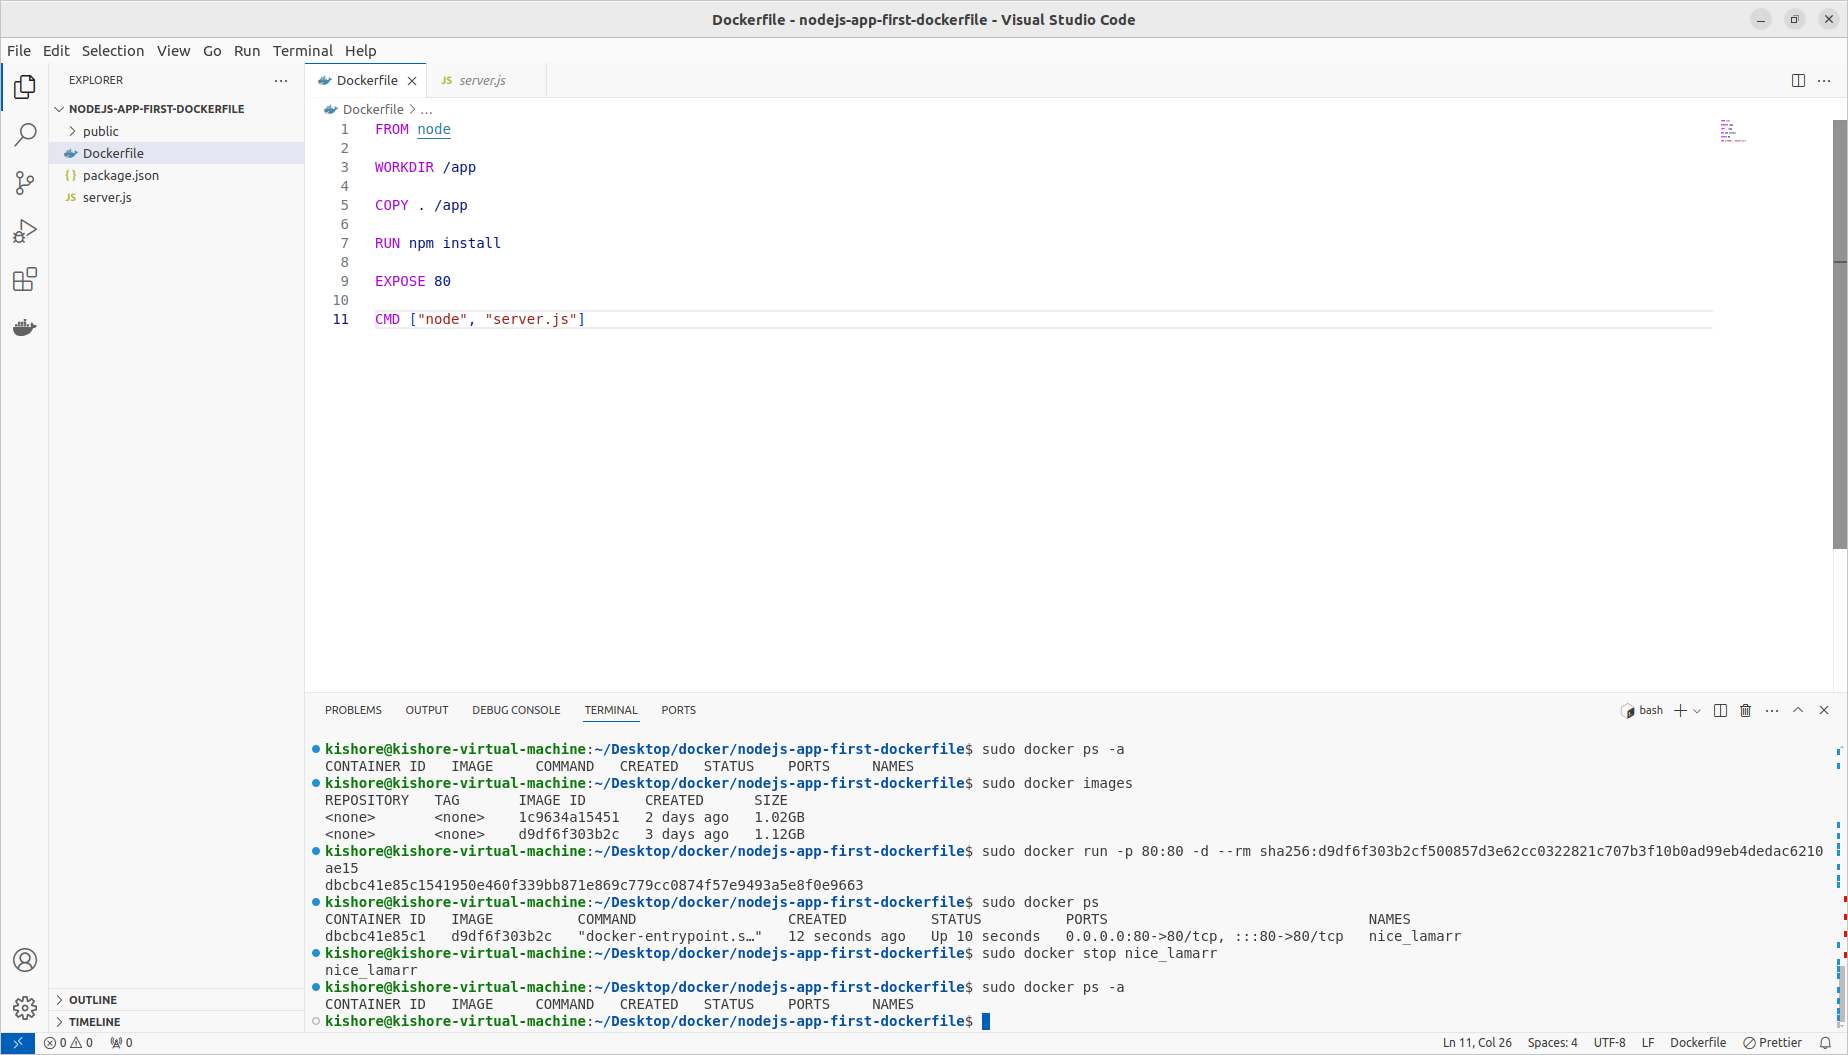
Removing Stopped Containers Automatically
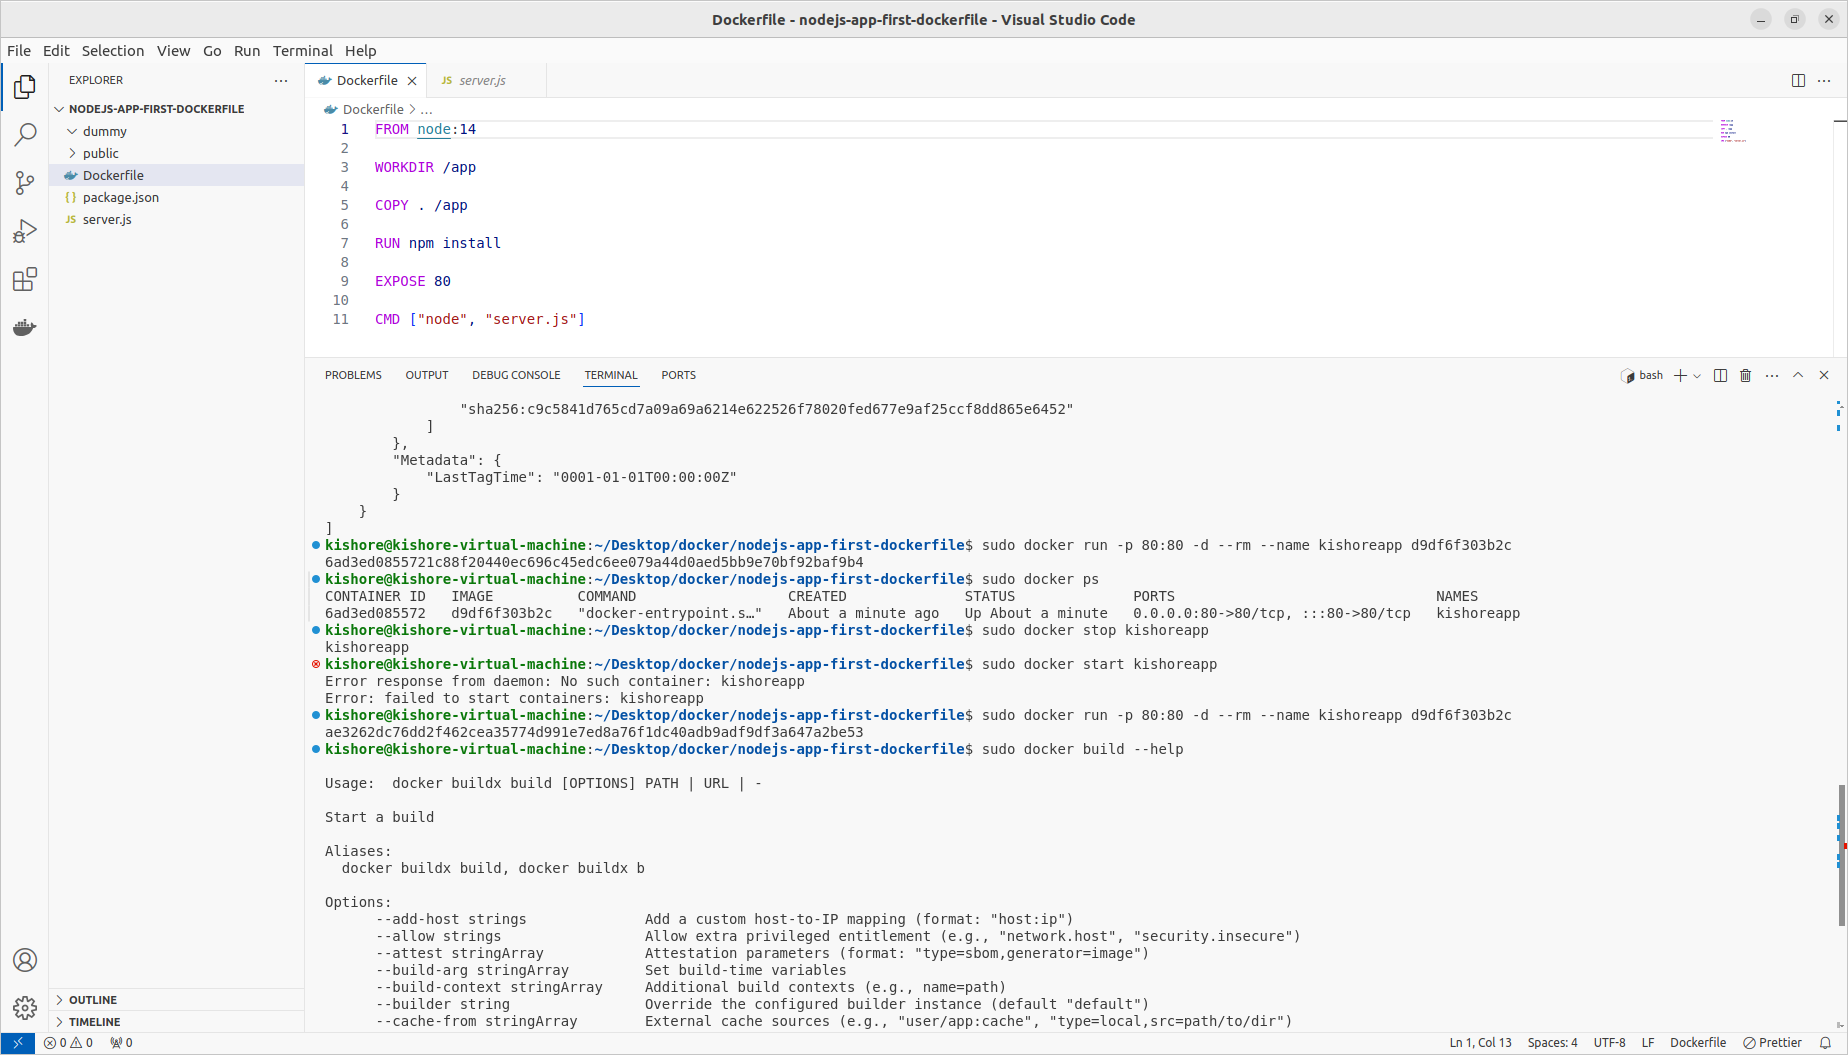
sudo docker run -p 80:80 -d –rm sha256:2447845036998e1bcc1e2682ff10fb2e7f86bc3f38e90f73fee2805ff499fe3f
Inspecting Images
sudo docker image inspect d9df6f303b2c
Copy Files Into & From A Container
sudo docker cp dummy/. affectionate_satoshi:/test
sudo docker cp affectionate_satoshi:/test dummy
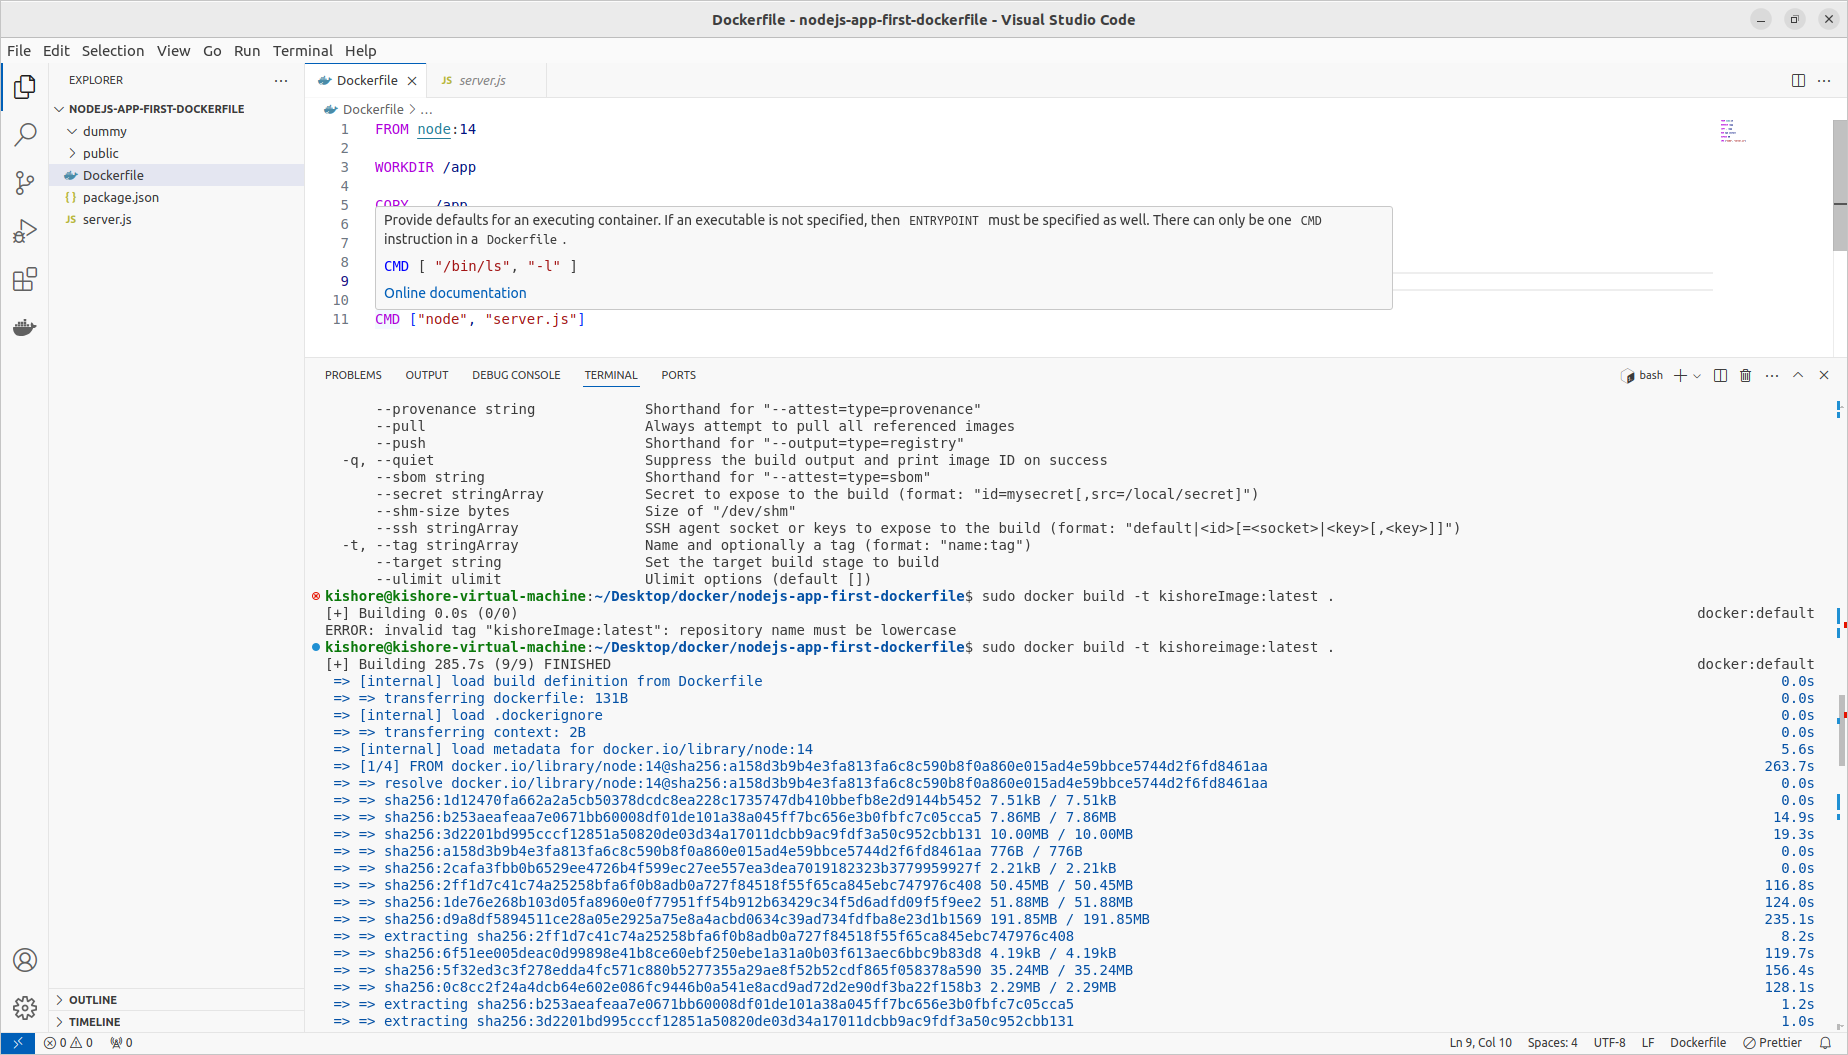
Naming & Tagging Containers & Images
sudo docker run -p 80:80 -d --rm --name kishoreapp d9df6f303b2c
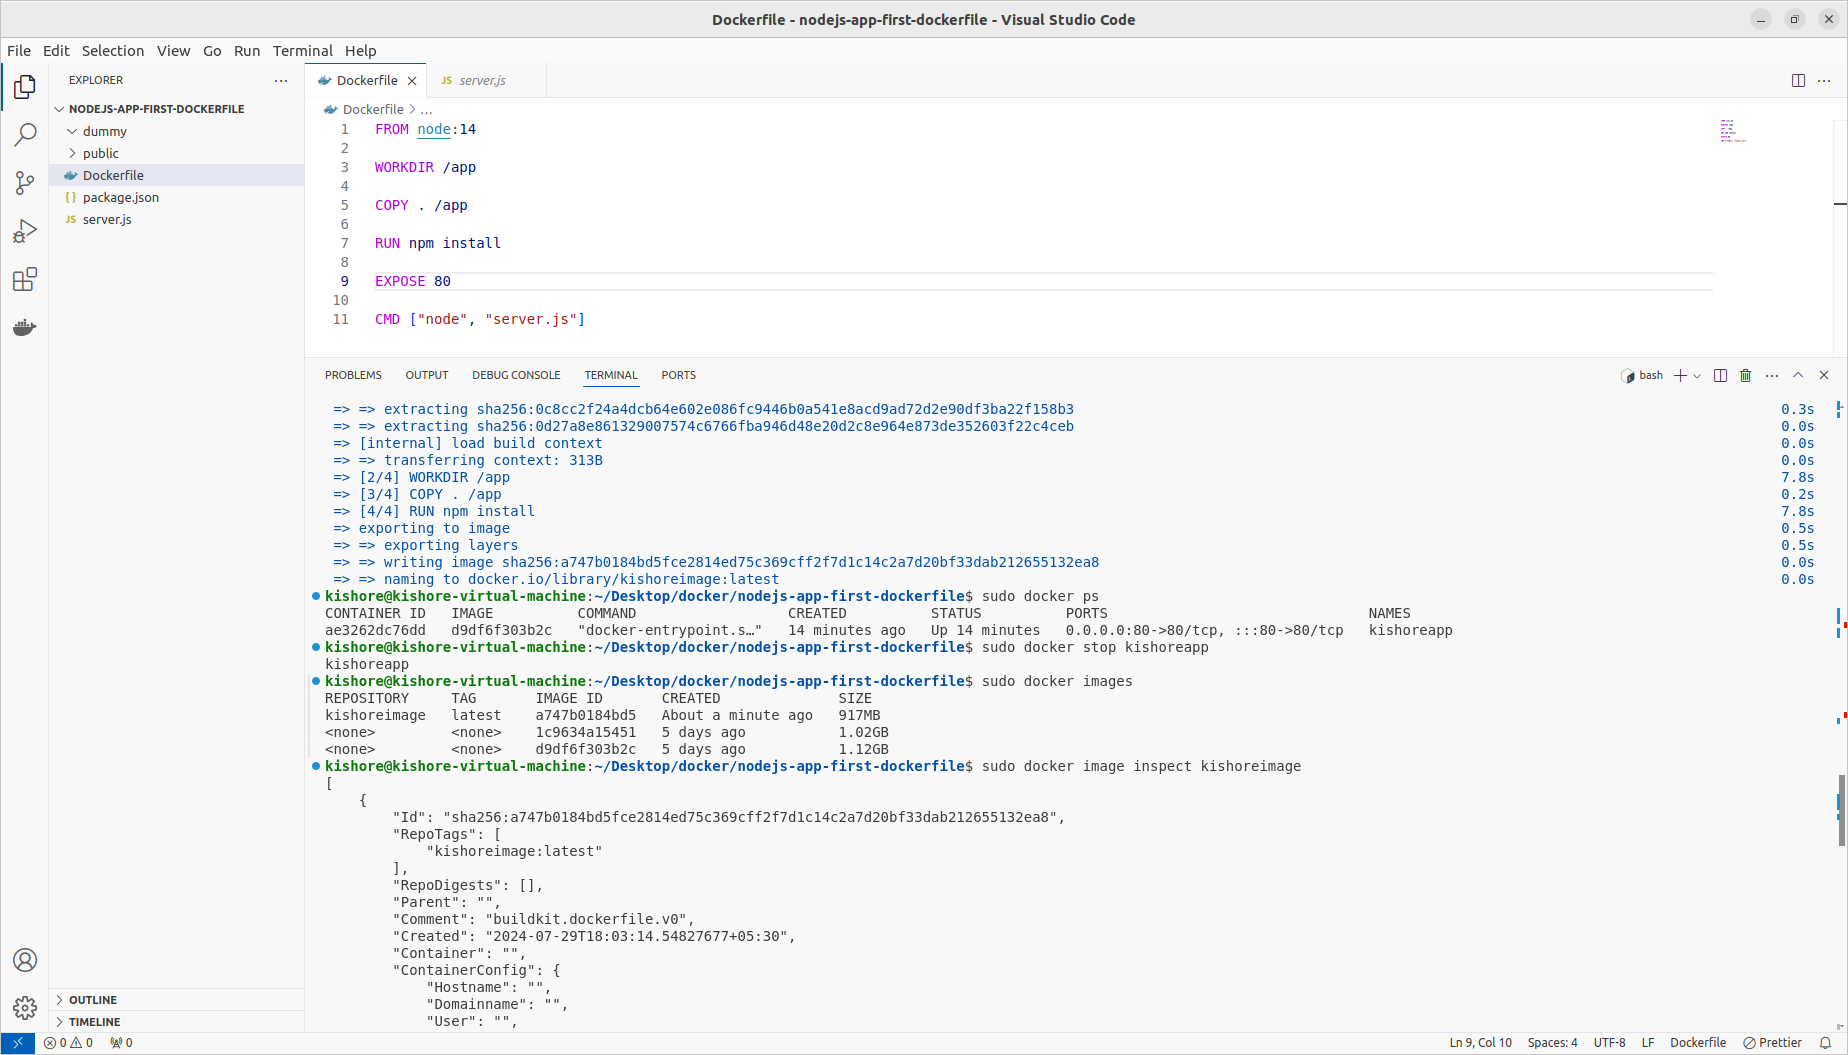
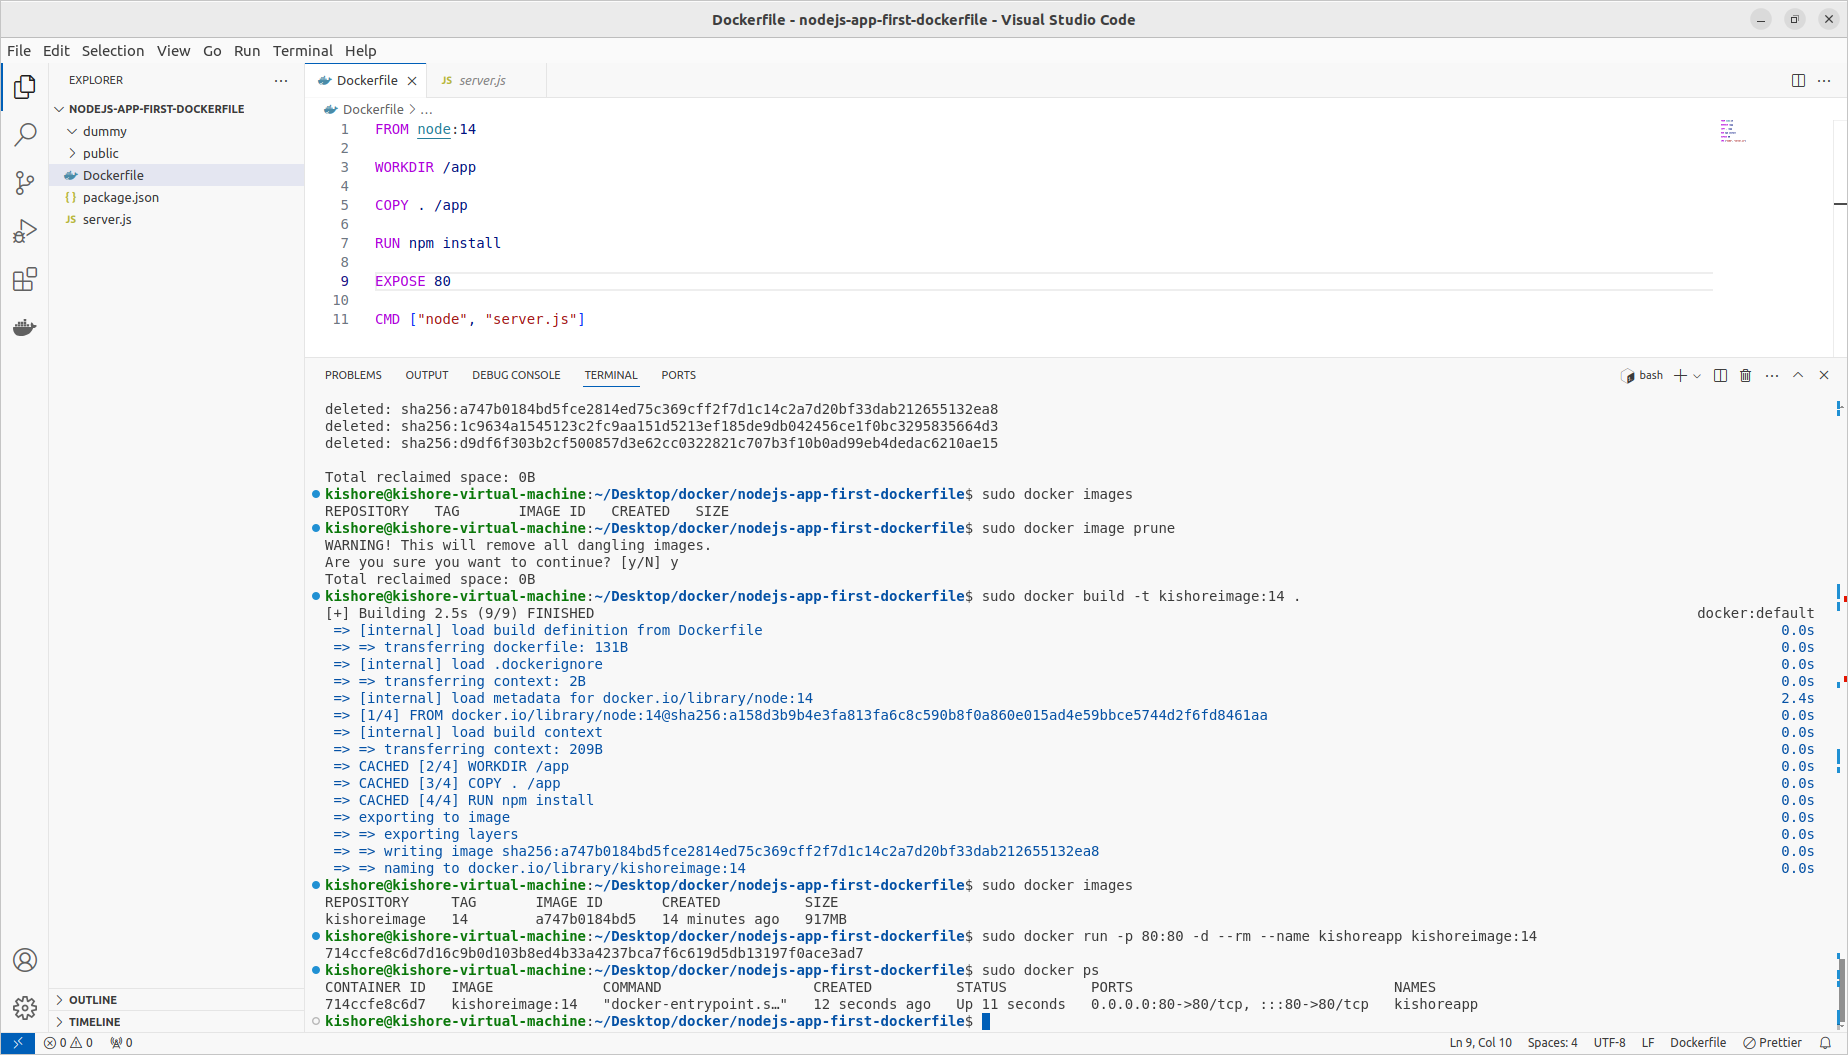
sudo docker build -t kishoreimage:latest .
sudo docker image inspect kishoreimage
sudo docker run -p 80:80 -d --rm --name kishoreapp kishoreimage:14
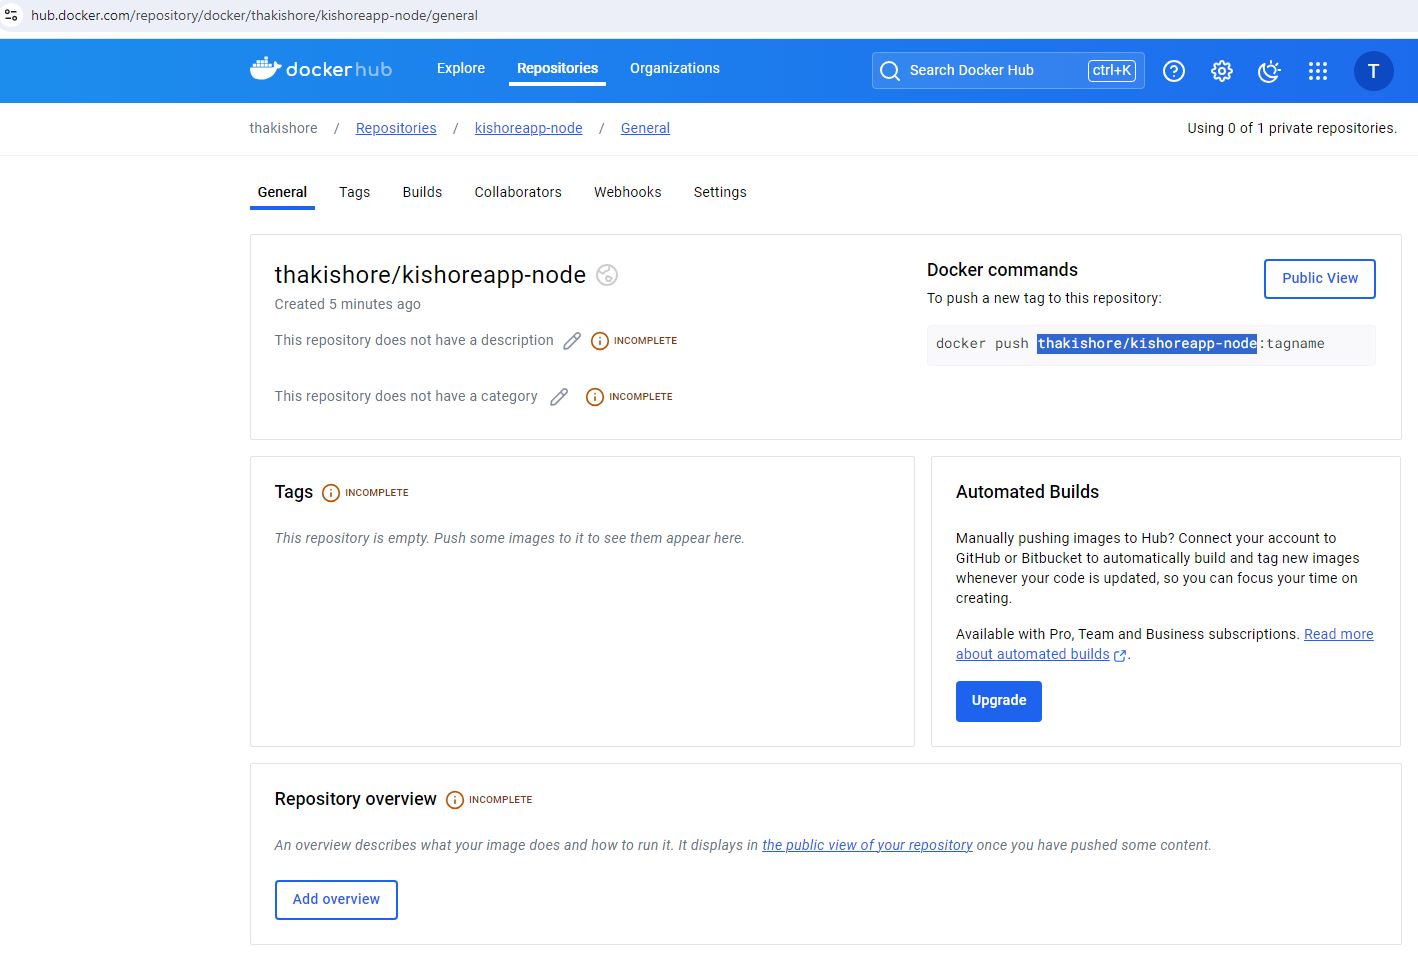
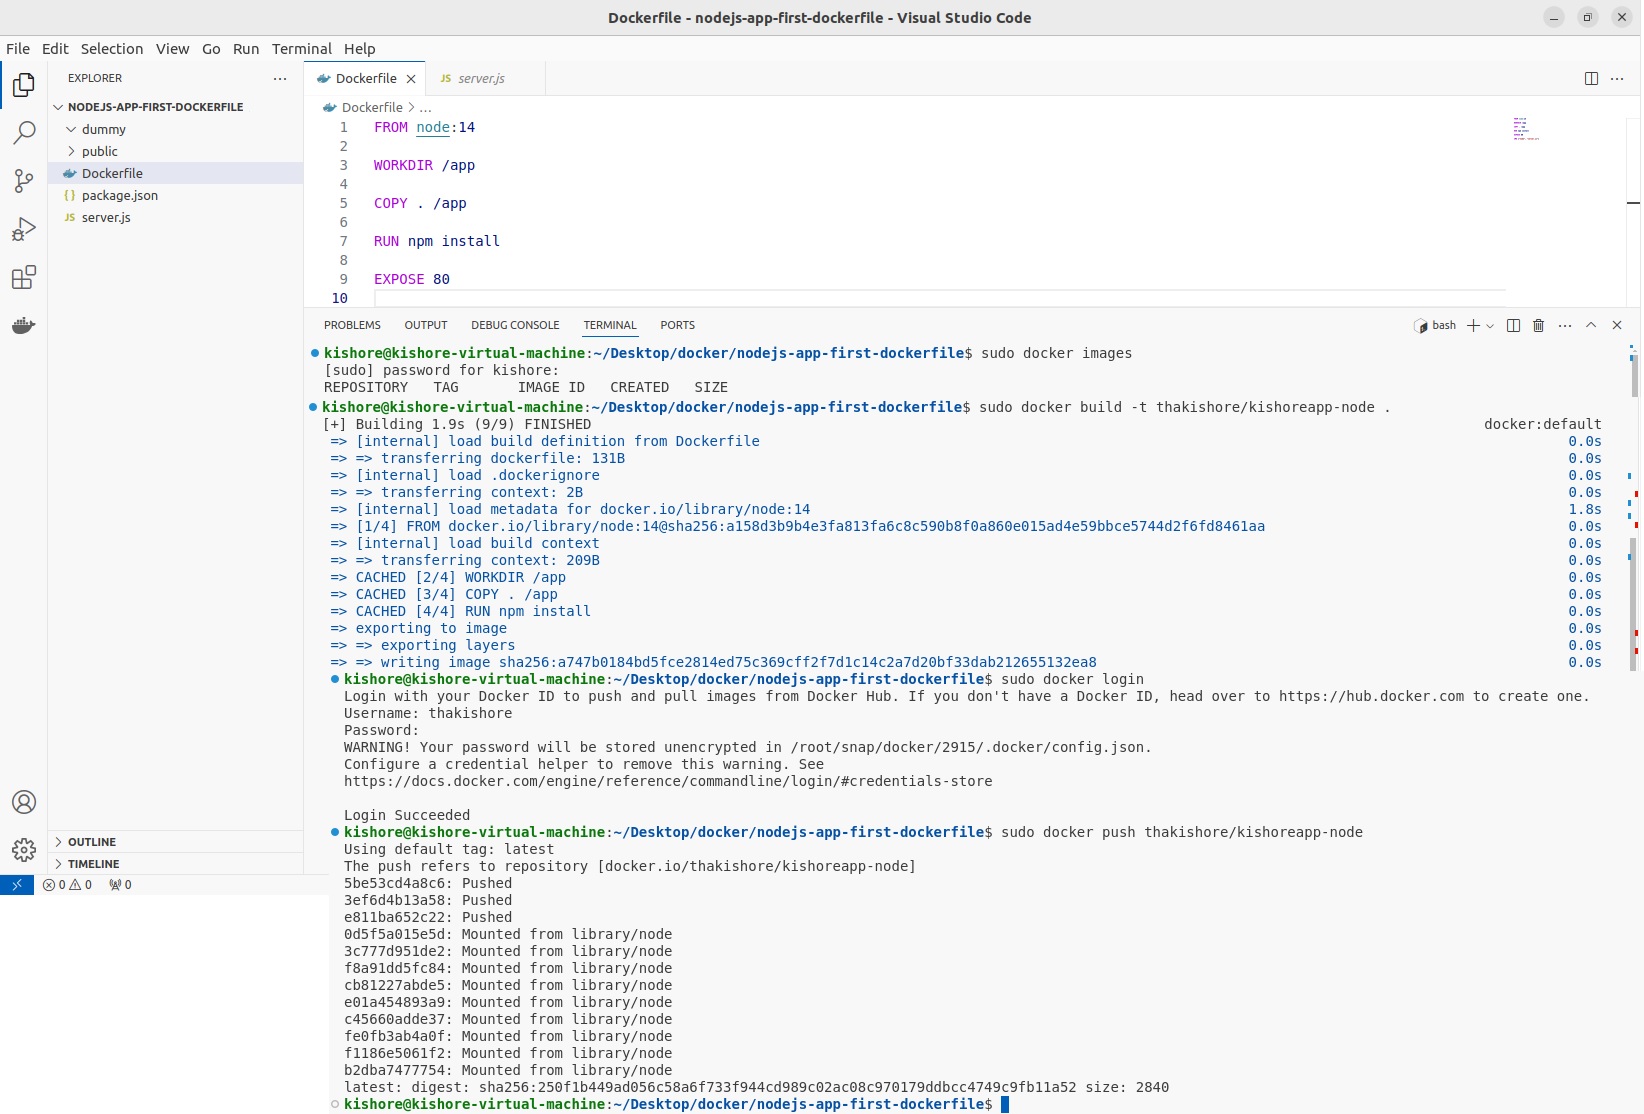
Docker Hub Images Push & Pull
sudo docker build -t thakishore/kishoreapp-node .
sudo docker login
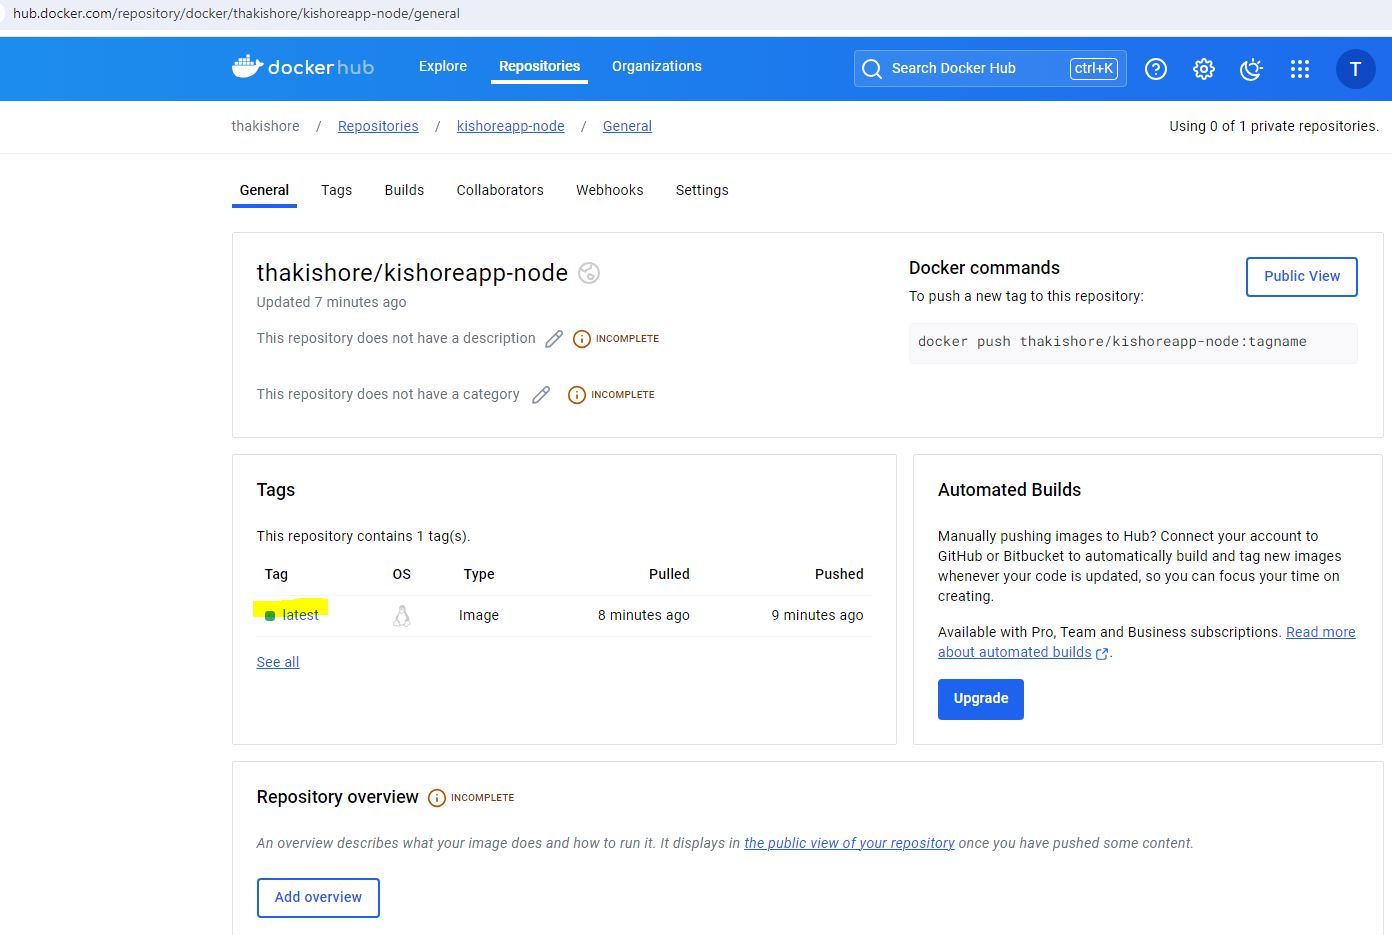
sudo docker push thakishore/kishoreapp-node
sudo docker logout
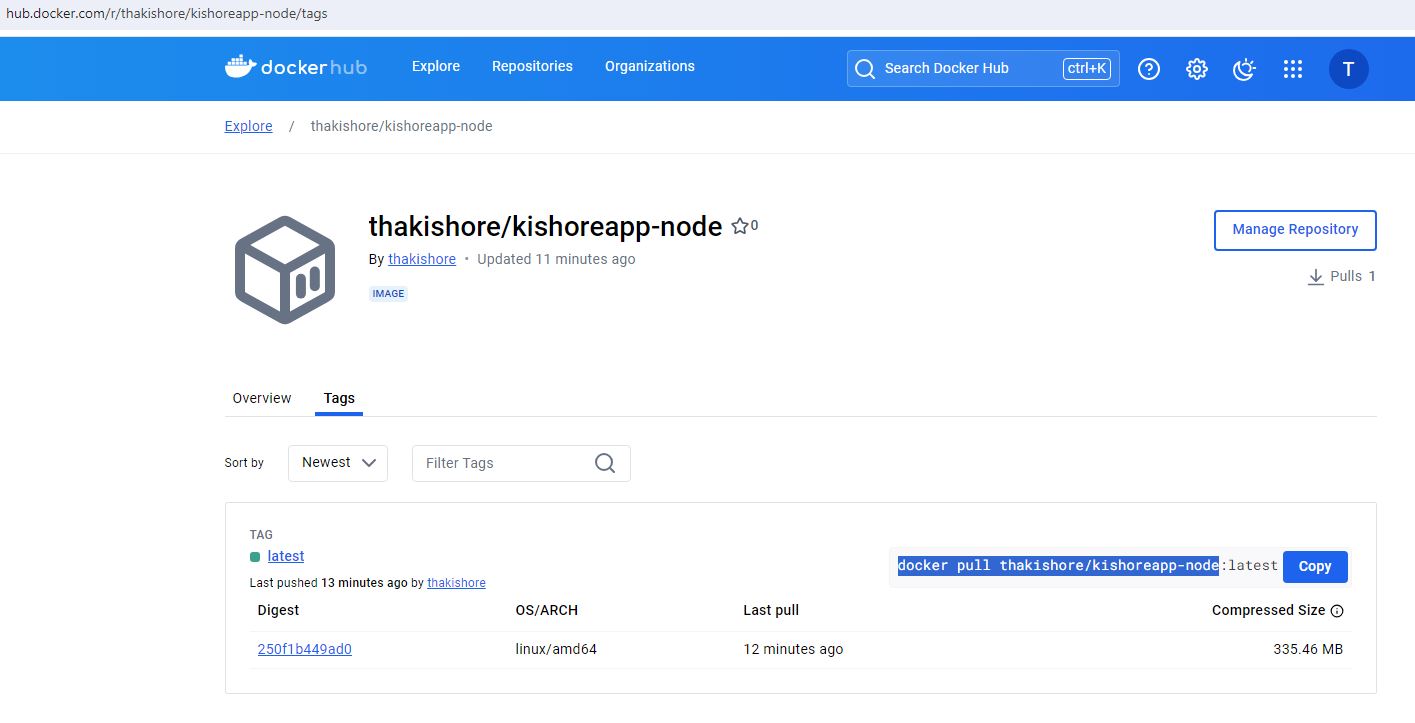
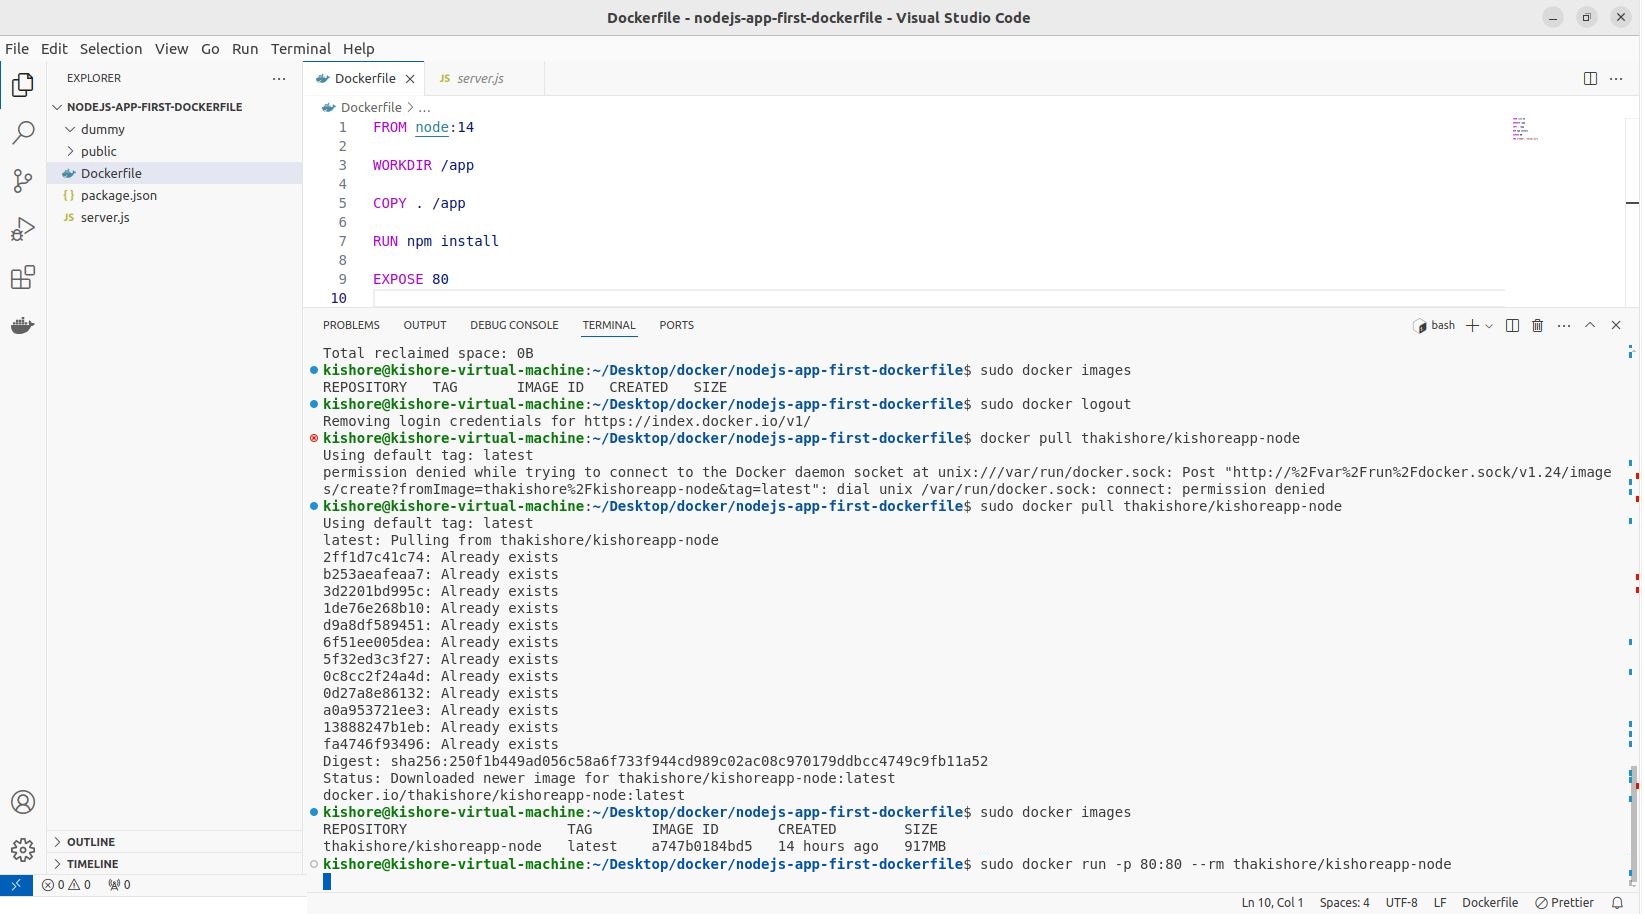
sudo docker pull thakishore/kishoreapp-node
Docker Hub Image Tag
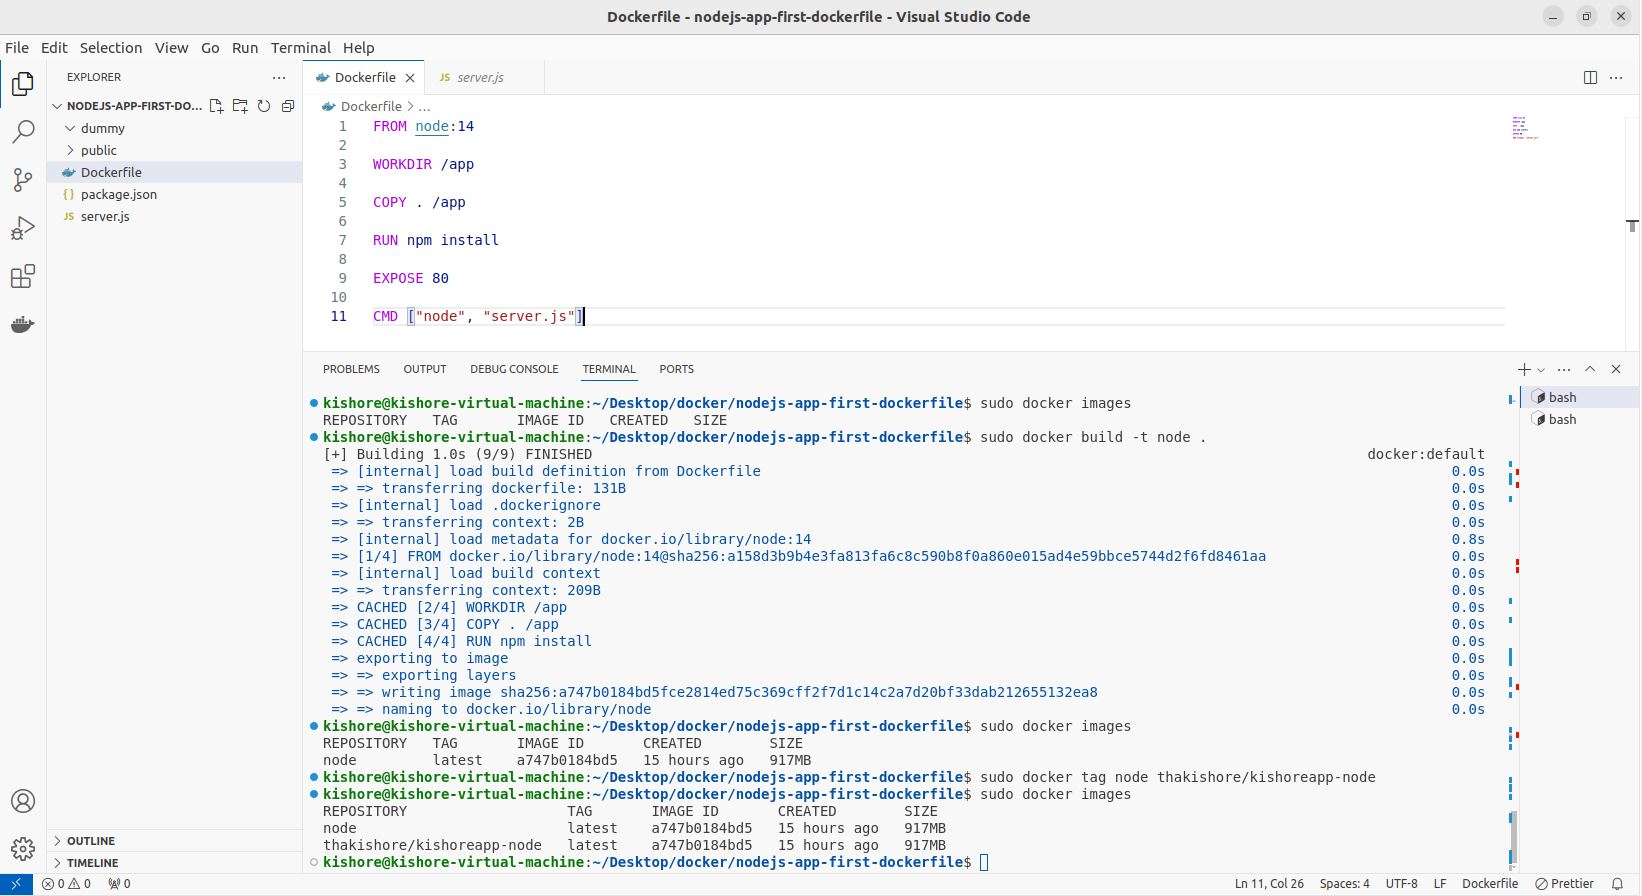
sudo docker tag node thakishore/kishoreapp-node
Volumes
Anonymous Volumes : since you don't assign any name.
Named Volumes : since you do assign a name.
Bind Mounts : an absolute path to a folder on your host machine

docker run -v /app/data ...
docker run -v data:/app/data ...
docker run -v /path/to/code:/app/code ...
Anonymous Volumes
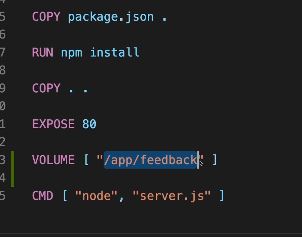
Anonymous Volumes can be used in 2 ways 1. Inside docker file EXPOSE 80VOLUME ["/app/feedback"] CMD ["node", "server.js"] Check Volume : sudo docker volume ls maybe~~~~~Temporary Application Data
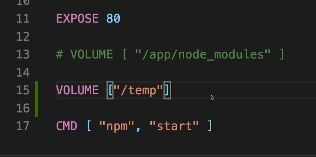
With anonymous volumes, you create a volume which is kind of attached to a container. It's removed if the container is removed. It survives container shut down and restart, but if it's removed, it's gone and therefore if you use the --rm when you ran the container, of course the volume is all gone when you stop the container because stopping then basically also means removing the container. Therefore, since it is removed when the container is removed, you can't use anonymous volumes to share data across containers. And you also can't use it to save data across container destruction and recreation. But anonymous volumes either created with the volume instruction in the dockerfile or created with -v, * can be useful for locking in certain data which already exists in the container. They can be useful for avoiding that this data then gets overwritten by another module. And that's something where anonymous volumes can save the day. * In addition, anonymous volumes also still create a counterpart, a folder, on your host machine. Of course that's removed when the container's removed, but that exists as long as the container is running. And that of course means that docker doesn't have to store all the data inside of the container and doesn't have to manage all the data inside of this container read write layer. But that instead it can outsource certain data to your host machine file system. And this can also help with performance and efficiency. So that's why anonymous modules can be worth a closer look. Example: we could consider creating another anonymous volume, maybe inside of the docker file to mix things up for the temp folder. It's okay if we lose that folder when the container is removed, but for the reasons I just mentioned, Example for tiny performance improvements, it can be worth mapping this temp folder to an anonymous volume so the data managed in there is not managed in the docker container anymore, but actually well outsourced to the host file system, you could say. That could be useful and therefore it is something we can do here for sure. Removing Anonymous Volumes We saw, that anonymous volumes are removed automatically, when a container is removed. This happens when you start / run a container with the --rm option. If you start a container without that option, the anonymous volume would NOT be removed, even if you remove the container (with docker rm ...). Still, if you then re-create and re-run the container (i.e. you run docker run ... again), a new anonymous volume will be created. So even though the anonymous volume wasn't removed automatically, it'll also not be helpful because a different anonymous volume is attached the next time the container starts (i.e. you removed the old container and run a new one). Now you just start piling up a bunch of unused anonymous volumes - you can clear them via docker volume rm VOL_NAME or docker volume prune.
Named Volumes
sudo docker run -p 80:80 -d --rm --name kishoreapp -v feedback:/app/feedback kishoreimage:14


* Named volumes can not be created in the dockerfile, but instead you create them with the -v instruction when you run a container.
* They are named because you assign a name in front of the colon.
Now the great thing about named volumes is that they're created in general.
They're not tied to any specific container.
They do survive container shut down and also the removal of containers.
If you want to remove a named volume, you can still do that, but you have to do it with a separate command built into the Docker CLI.
* Now since they survived container removal, you can use named volumes to share data across multiple containers,
* You could mount one of the same named module to multiple different containers and hence the data in there could be shared between containers.
* We can also use them to store data across container shutdowns and removals.
Bind Mounts
Bind mounts serve a different purpose.
Here we know where data is stored on the host machine.
Bind mounts are also not tied to one specific container.
You can attach them to multiple containers and they do survive container shutdown and removal.
If you want to clear the data of a bind mount, you actually have to delete it on your host machine.

So here I would have to delete all the content here

in my project to also remove it in the container.

You can't delete it with a docker command.
And that makes a lot of sense,
because it is a folder on your system after all
and you don't want to accidentally delete this somehow.
Now of course you can share them across containers and you can also reuse them on one of the same container across restarts.
Read only Volumes
sudo docker run -p 80:80 -d --name kishoreapp -v feedback:/app/feedback -v /app/node_modules -v "/home/kishore/Downloads/data-volumes-04-added-nodemon/data-volumes-04-added-nodemon:/app:ro " kishoreapp-image
Nodemon
.dockerignore
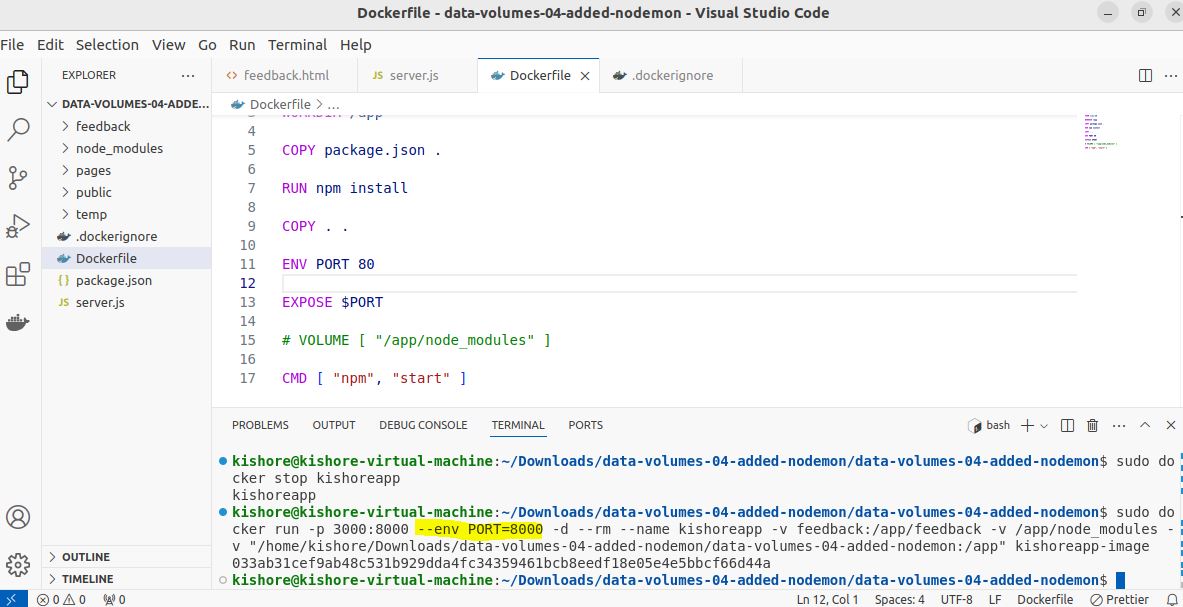
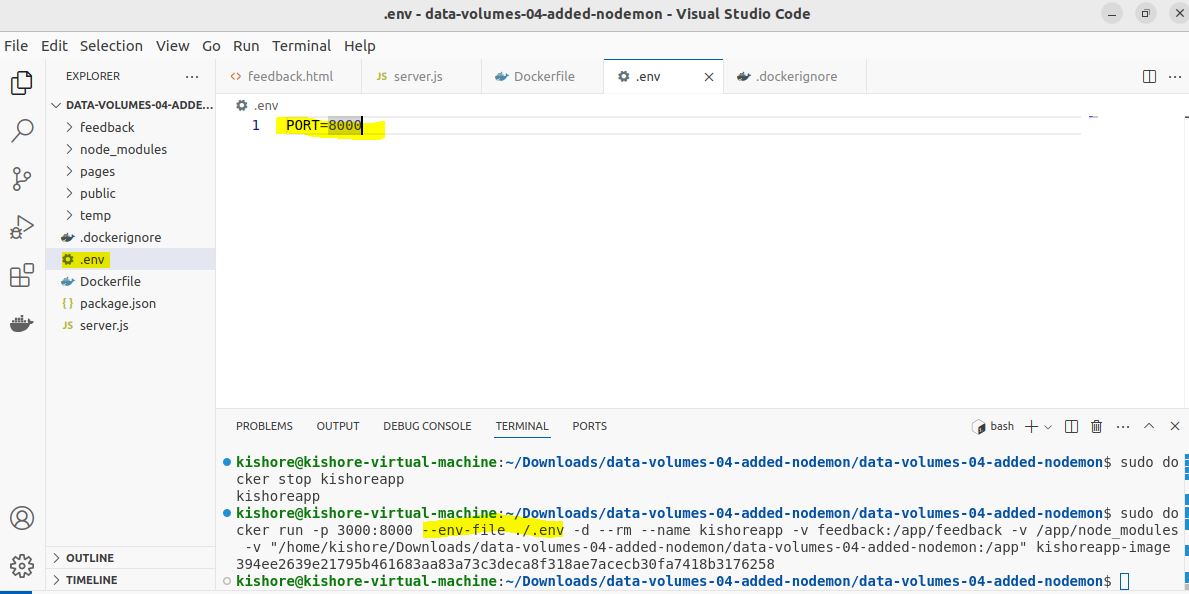
Environment Variables & .env Files
sudo docker run -p 80:80 --env PORT=80 -d --name kishoreapp kishoreapp-image
sudo docker run -p 80:80 -env PORT=80 -d --name kishoreapp kishoreapp-image
sudo docker run -p 80:80 -env PORT=80 -env Name=kishore -d --name kishoreapp kishoreapp-image
sudo docker run -p 3000:8000 --env-file ./.env -d --rm --name kishoreapp kishoreapp-image
Build Arguments(ARG)
sudo docker build -t kishoreapp-image:web .
sudo docker build -t kishoreapp-image:dev --build-arg PORT=8000 .
Networks
Cheat-Sheet-Networks-Requests PDF
slides-networking PDF
networks-finished Project ZIP

Within One Network Domain Name Translation and All PORTs are opened internally, so No ports can be opened ex: -p not required to communicate internally in one network.

Container to Container Communication - BY manually finding the IP Addresses or by using a network

sudo docker network create kishore-net
sudo docker network ls
sudo docker -d --name mongodb --network kishore-net mongo

None 	: mongoose.connect('mongodb://localhost:27017/swfavoties',....)
Host	: mongoose.connect('mongodb://host.docker.internal:27017/swfavoties',....) host.docker.internal Translated to local host ip address
Bridged	: mongoose.connect('mongodb://172.2.0.2:27017/swfavoties',....)	???
Bridged	: mongoose.connect('mongodb://mongodb:27017/swfavoties',....) ??? Other Container Name Translated by Docker to IP address of Container

Condition ->	If Container name can be translated if -other container must be in same Network


sudo docker run -d --name mongodb --network kishore-net mongo
sudo docker run -d --name kishoreapp --network kishore-net -p 3000:3000 --rm kishoreapp-image

Docker Network Drivers
Docker Networks actually support different kinds of "Drivers" which influence the behavior of the Network.

The default driver is the "bridge" driver - it provides the behavior shown in this module (i.e. Containers can find each other by name if they are in the same Network).

The driver can be set when a Network is created, simply by adding the --driver option.

docker network create --driver bridge my-net
Of course, if you want to use the "bridge" driver, you can simply omit the entire option since "bridge" is the default anyways.

Docker also supports these alternative drivers - though you will use the "bridge" driver in most cases:

host: For standalone containers, isolation between container and host system is removed (i.e. they share localhost as a network)

overlay: Multiple Docker daemons (i.e. Docker running on different machines) are able to connect with each other. Only works in "Swarm" mode which is a dated / almost deprecated way of connecting multiple containers

macvlan: You can set a custom MAC address to a container - this address can then be used for communication with that container

none: All networking is disabled.

Third-party plugins: You can install third-party plugins which then may add all kinds of behaviors and functionalities

As mentioned, the "bridge" driver makes most sense in the vast majority of scenarios.
multi-container
multi-01-starting-setup ZIP
slides-multi-container PDF
multi-02-finished ZIP
Installing Docker Compose on Linux
Installing Docker Compose on Linux


compose-01-starting-setup ZIP
slides-docker-compose PDF
Cheat-Sheet-Docker-Compose PDF
compose-02-finished ZIP

On macOS and Windows, you should already have Docker Compose installed - it's set up together with Docker there.

On Linux machines, you need to install it separately.

These steps should get you there:

1. sudo curl -L "https://github.com/docker/compose/releases/download/1.27.4/docker-compose-$(uname -s)-$(uname -m)" -o /usr/local/bin/docker-compose

2. sudo chmod +x /usr/local/bin/docker-compose

3. sudo ln -s /usr/local/bin/docker-compose /usr/bin/docker-compose

4. to verify: docker-compose --version

Also see: https://docs.docker.com/compose/install/
Utility Containers, Permissions & Linux
Utility Containers, Permissions & Linux

We can Read log files without interrupting the main process

Alpine - Slim and optimised node base image

slides-utility-containers PDF

When working with "Utility Containers" on Linux, I recommend that you also take a closer look at this very helpful thread in the Q&A section: https://www.udemy.com/course/docker-kubernetes-the-practical-guide/learn/#questions/12977214/

This thread discusses user permissions as set by Docker when working with "Utility Containers" and how you should tweak them.

docker exec -it kishoreapp npm init


sudo docker build -t node-util .
sudo docker run -it --name kishoreapp -v /home/kishore/Desktop/docker/UtilityContainer:/app node-util install express --save
sudo docker-compose --build  server
sudo docker-compose up -d --build server
sudo docker-compose down server php mysql


